Overview
This guide expands the CSV upload flow with step-by-step visuals. Use it to bring a CSV file into Daymark and select the fields you want to analyze.Upload a CSV to Daymark
Open the Explore Page
From your Daymark workspace, go to Explore to start the upload.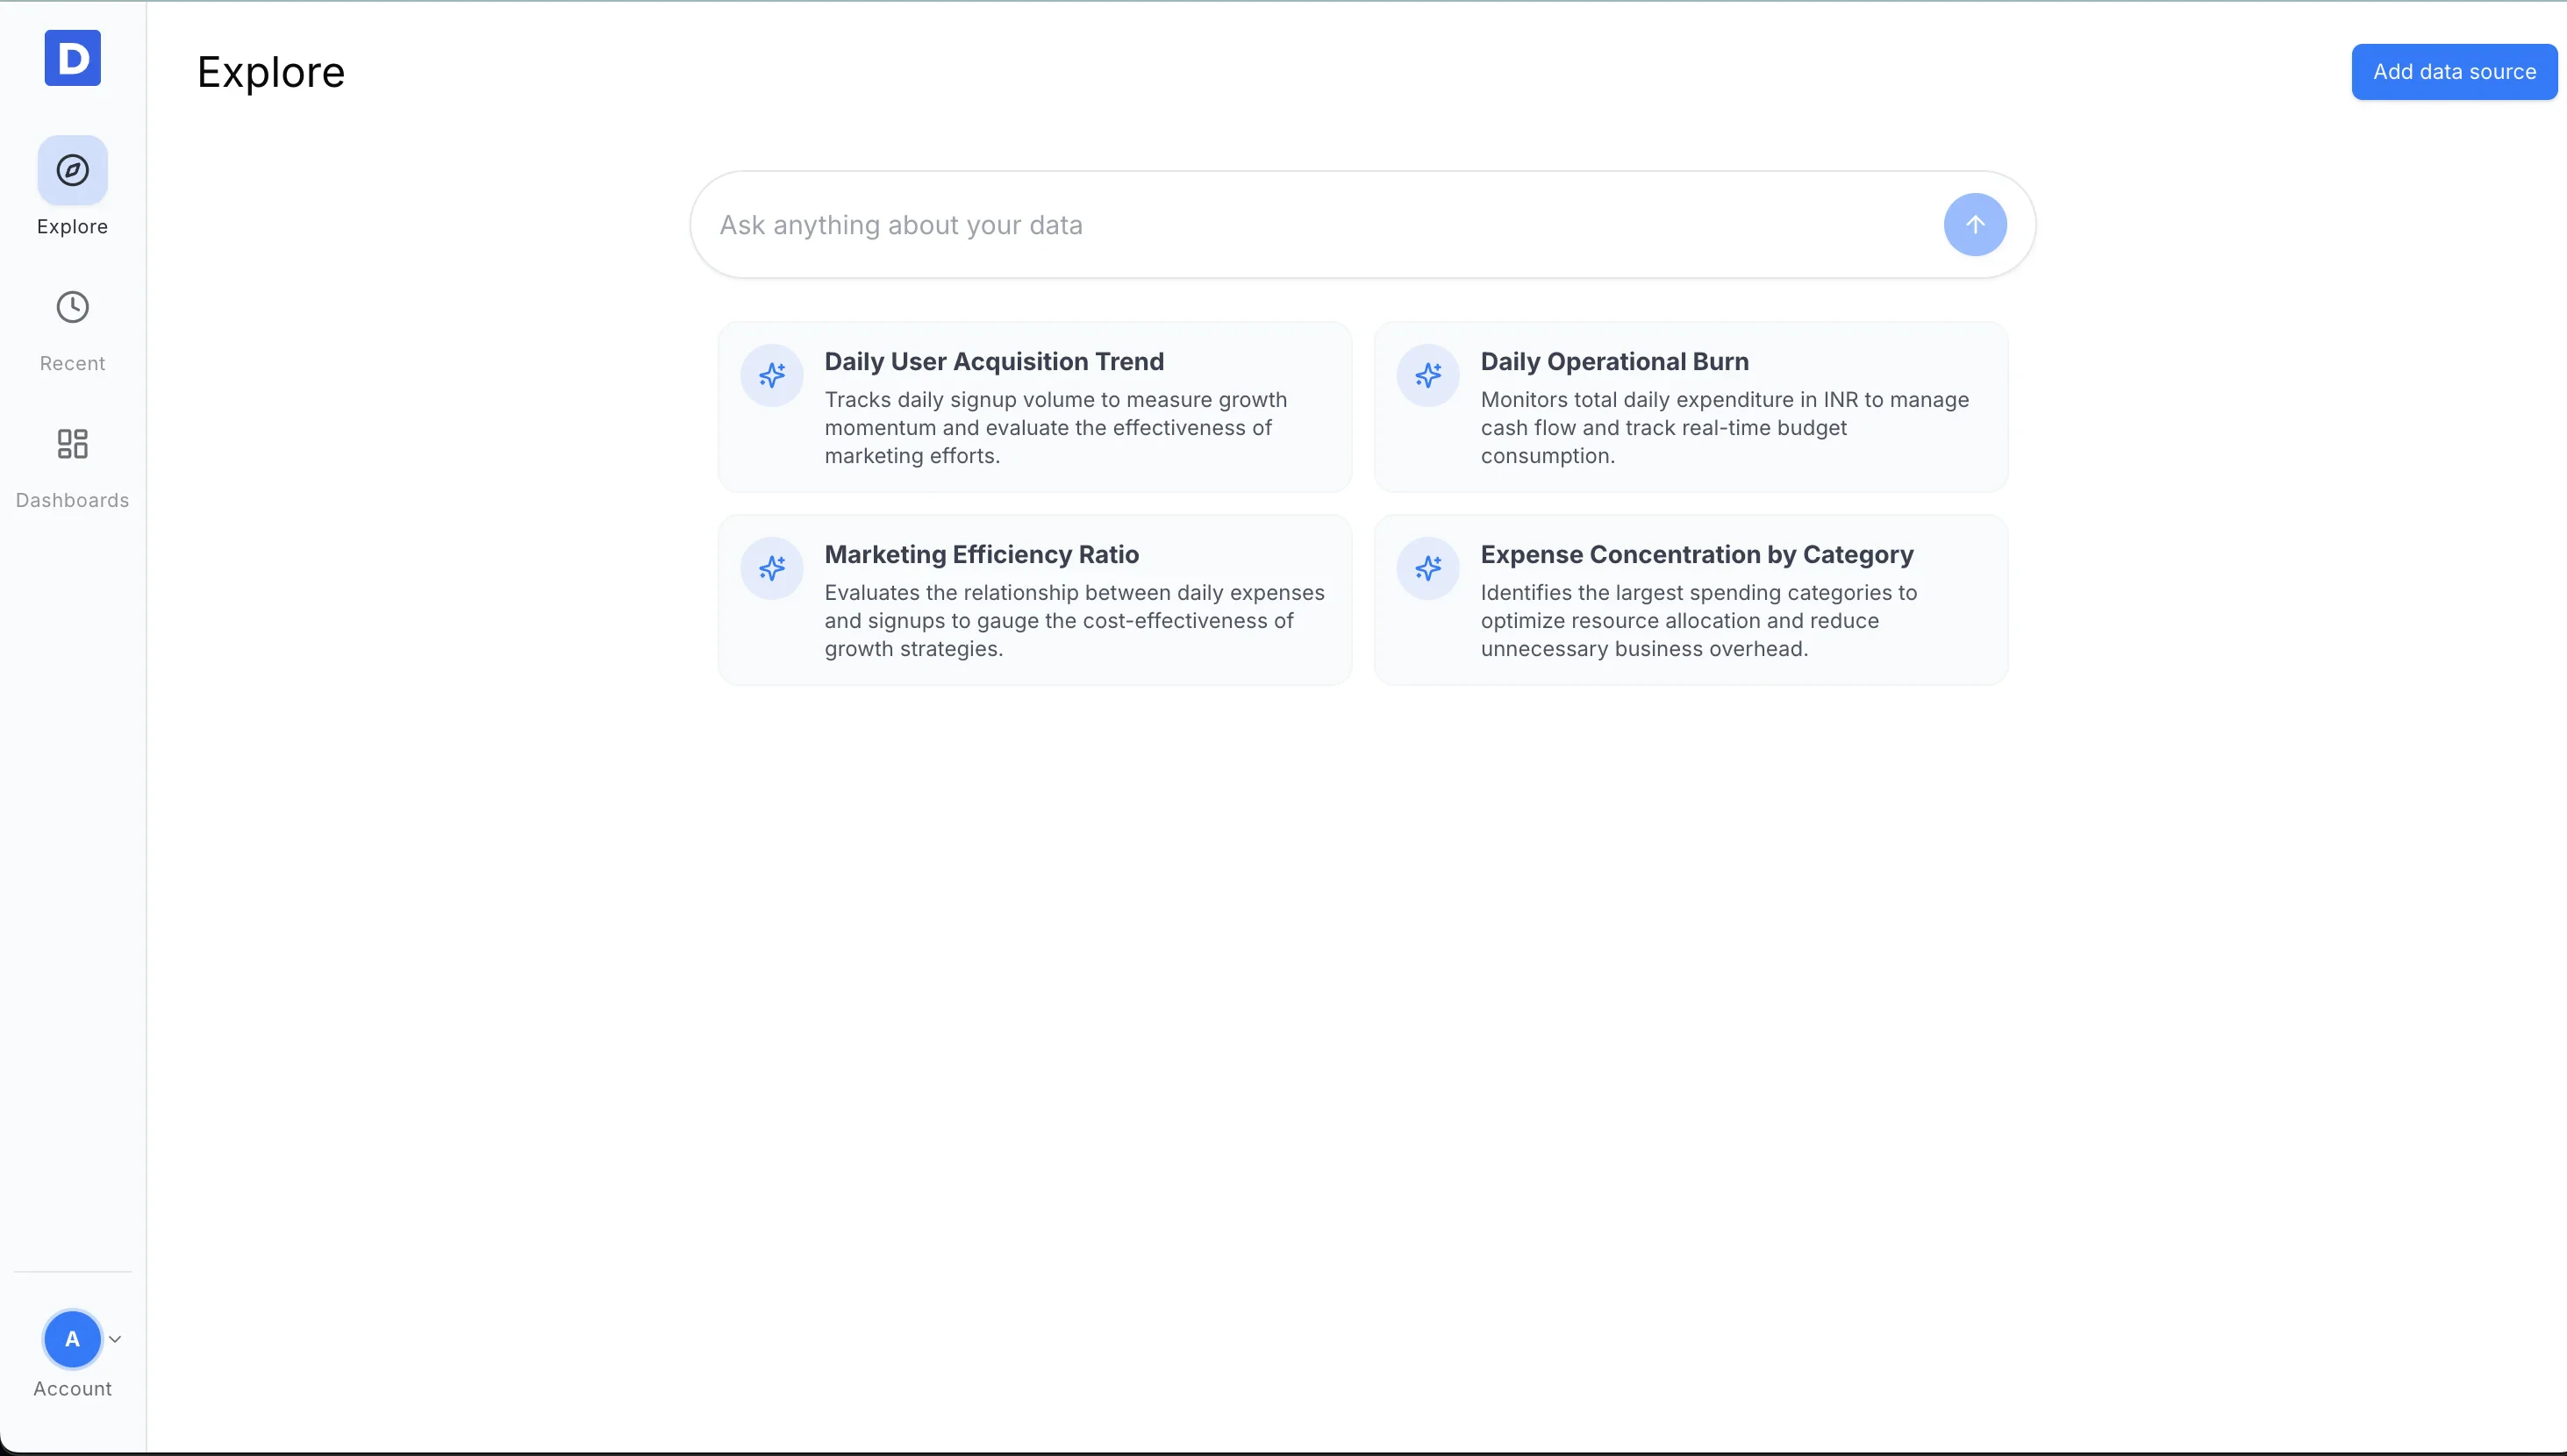
Choose CSV Upload
Click Add data source and select Upload CSV File from the connector list.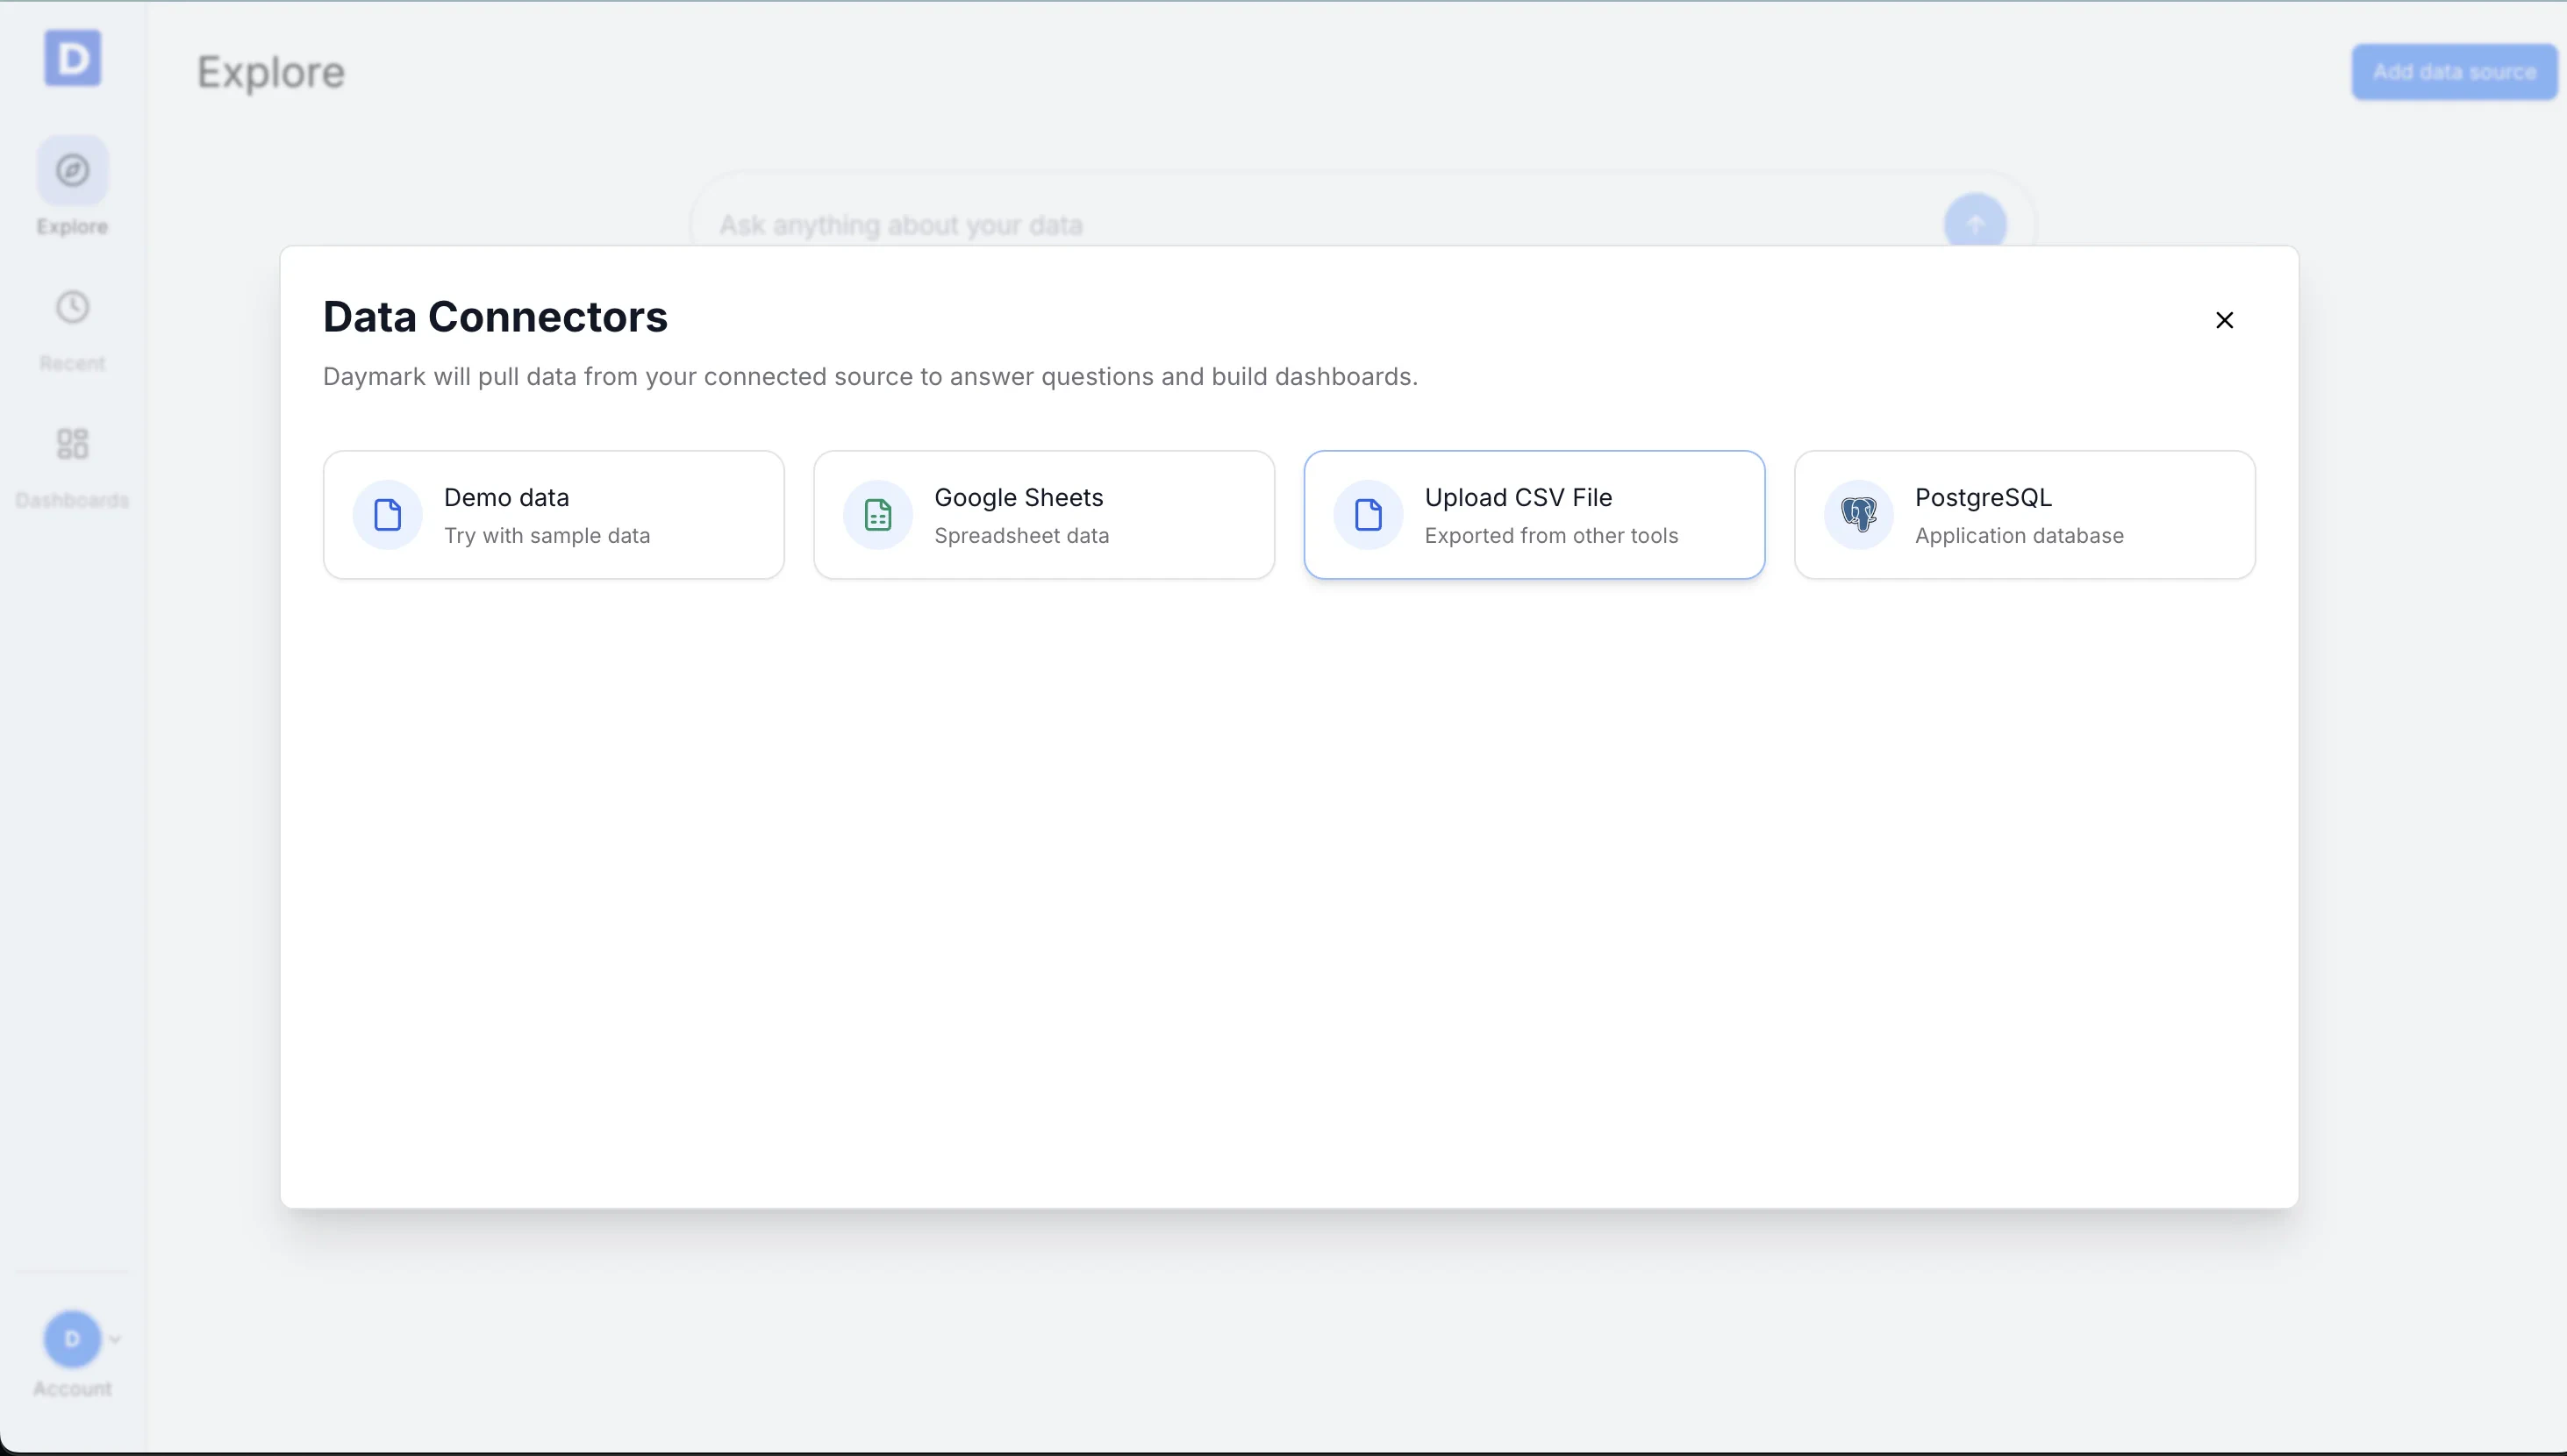
Select the CSV File
Drag and drop your file or click to browse. Make sure the first row contains column names so Daymark can label the data correctly.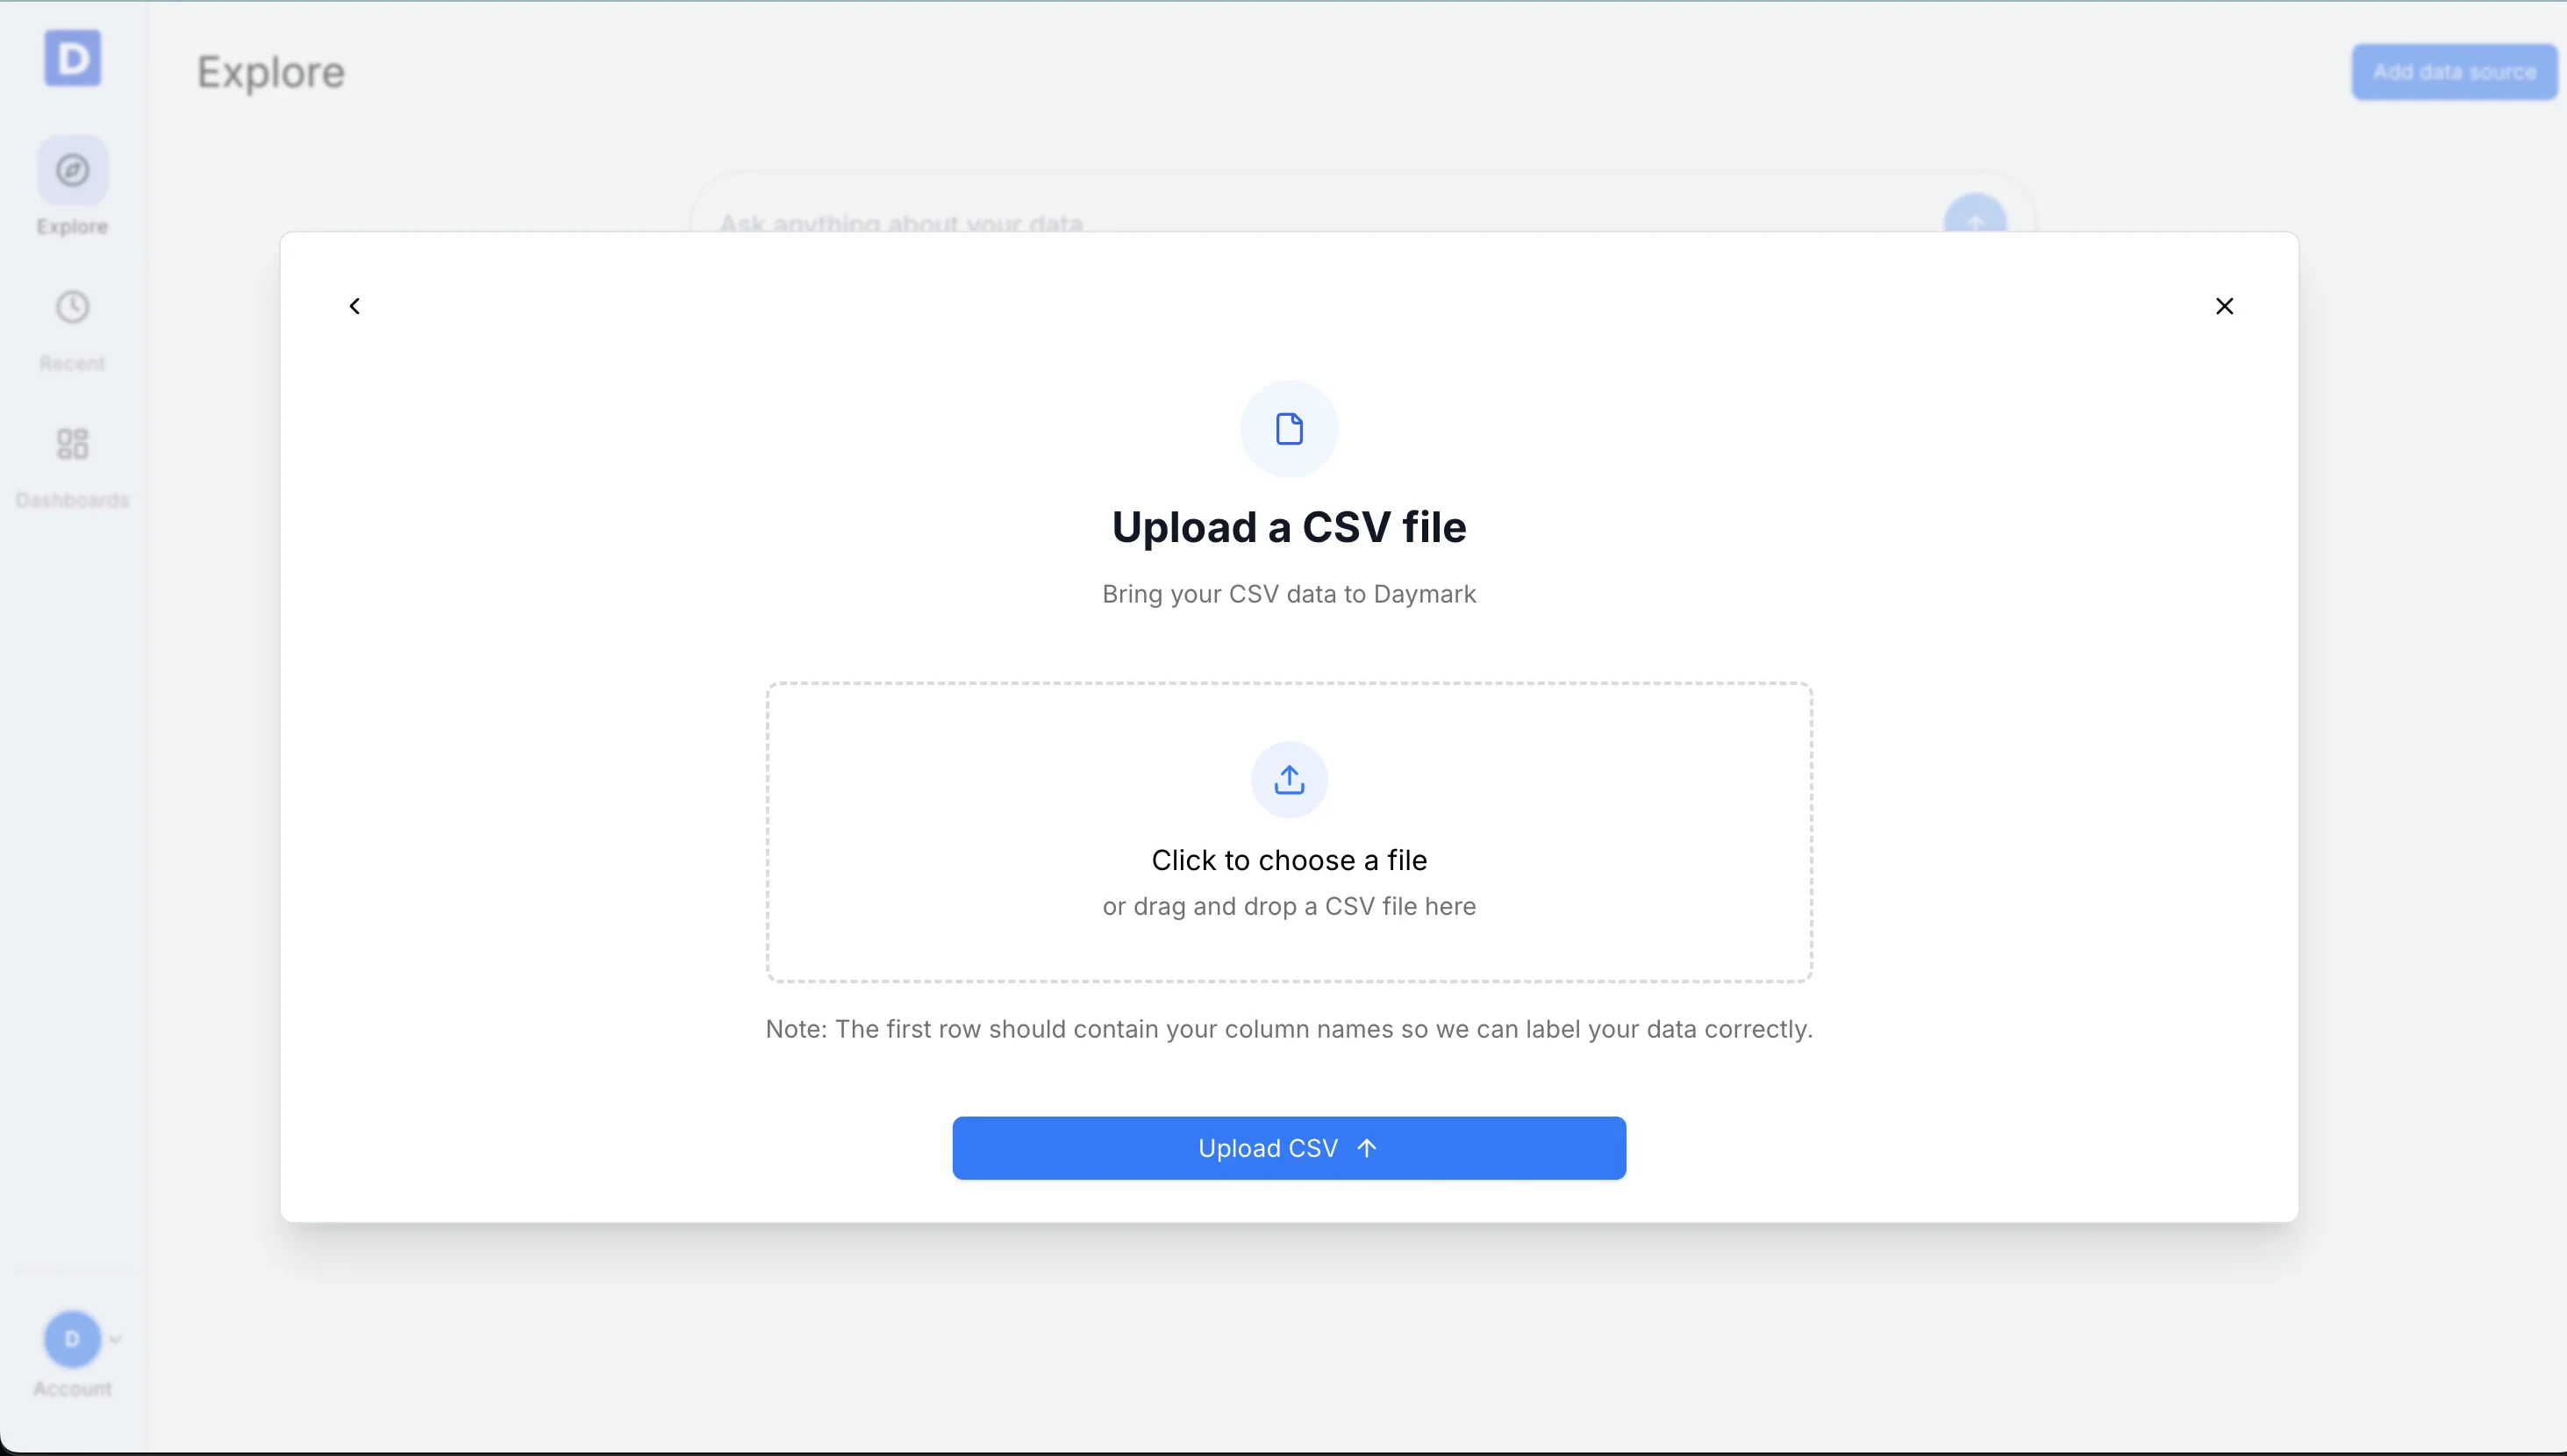
Upload the File
Click Upload CSV to start processing.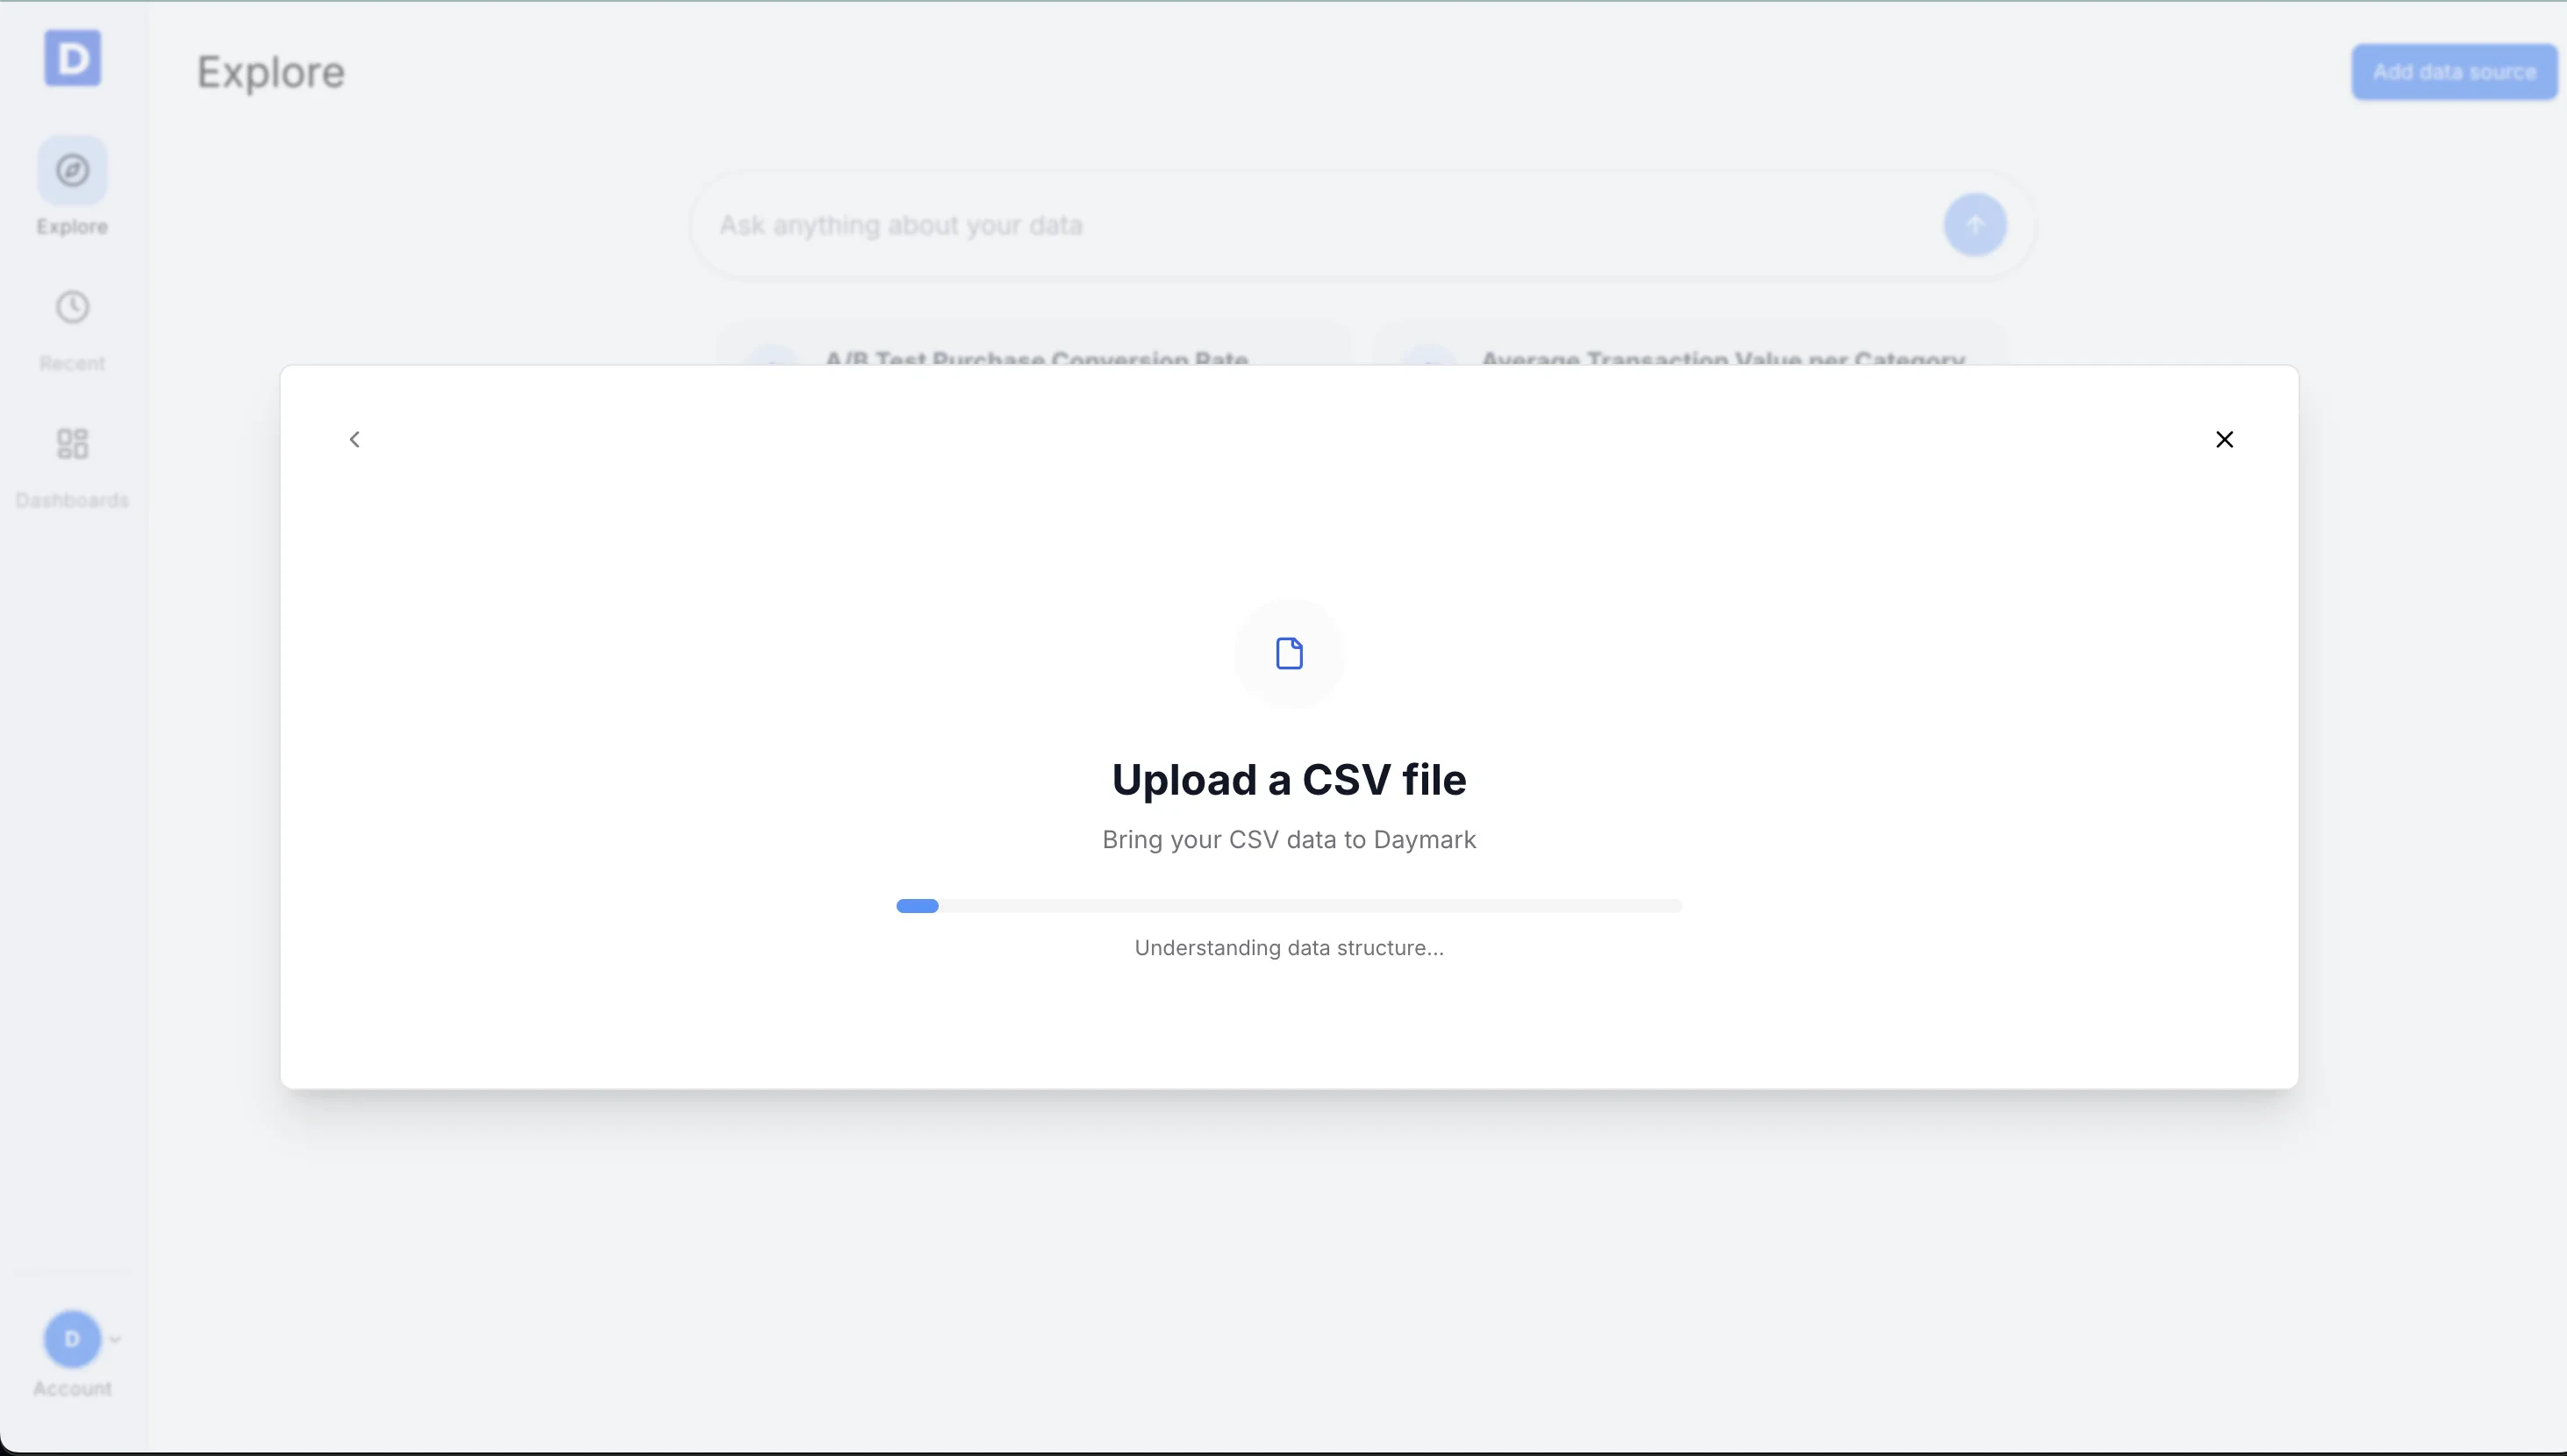
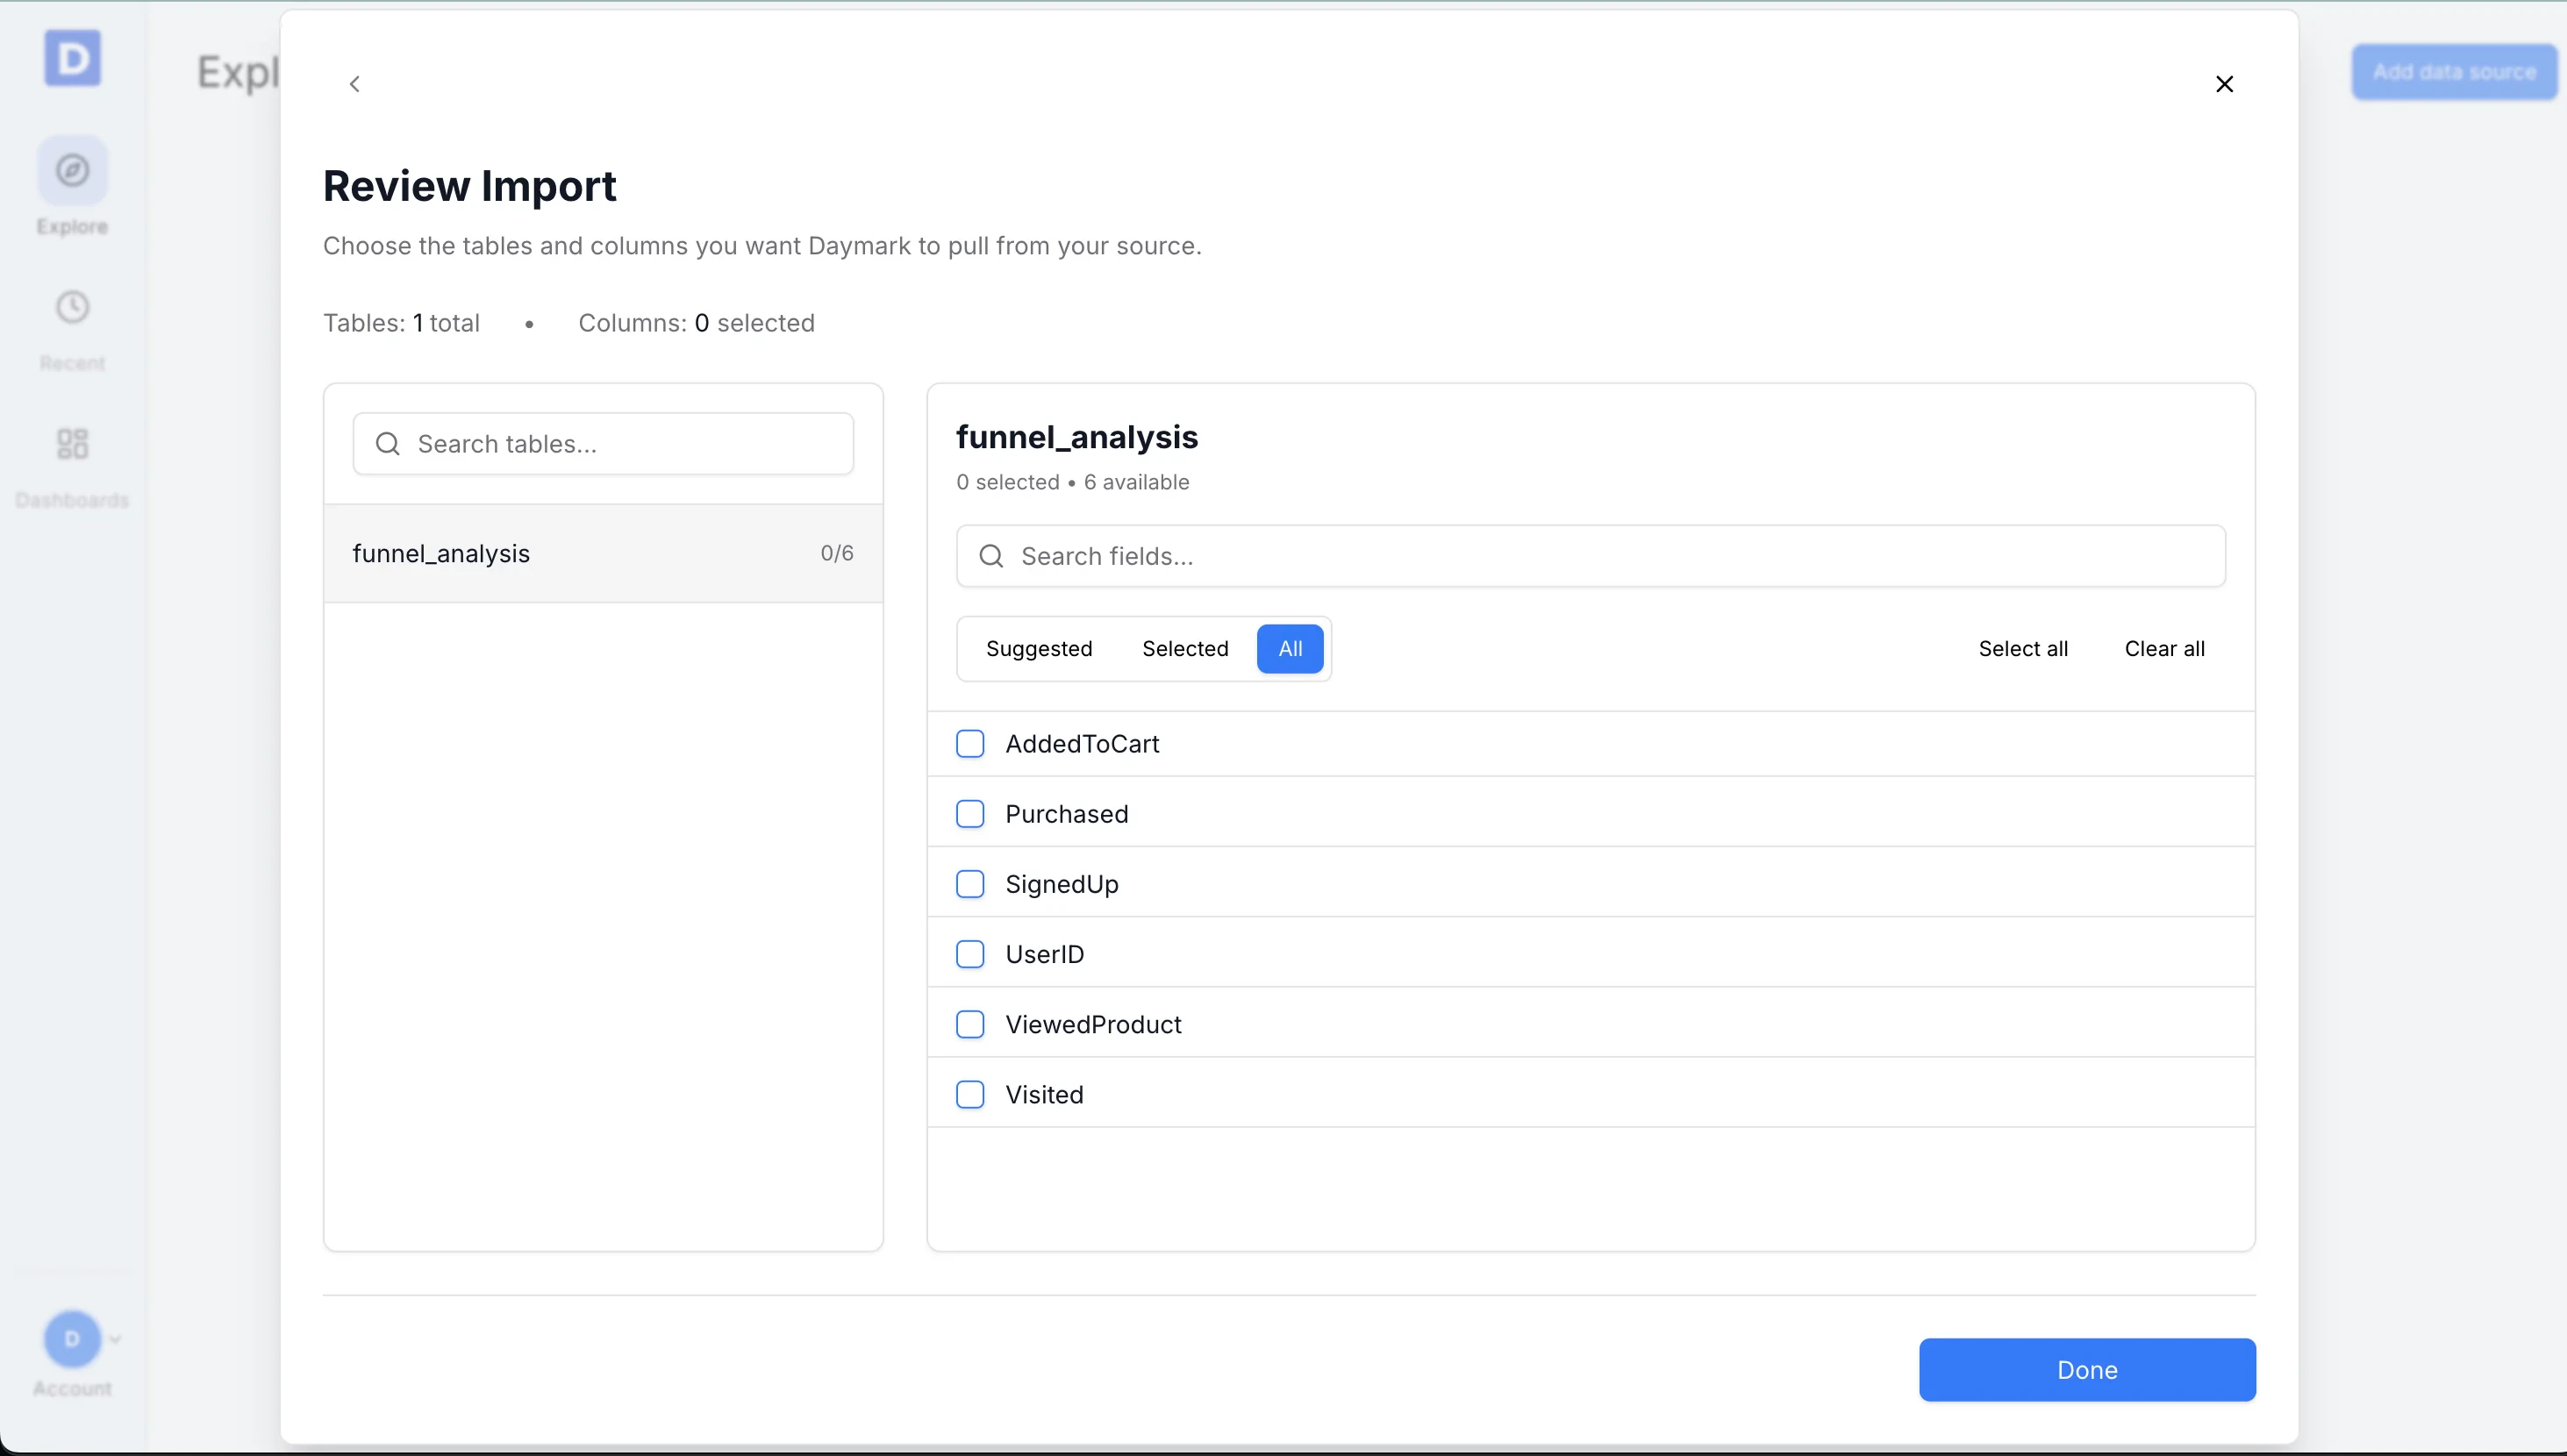
Select Fields for Insights
Choose the columns you want to include:- Select All to include every column
- Or select only the fields relevant to your analysis
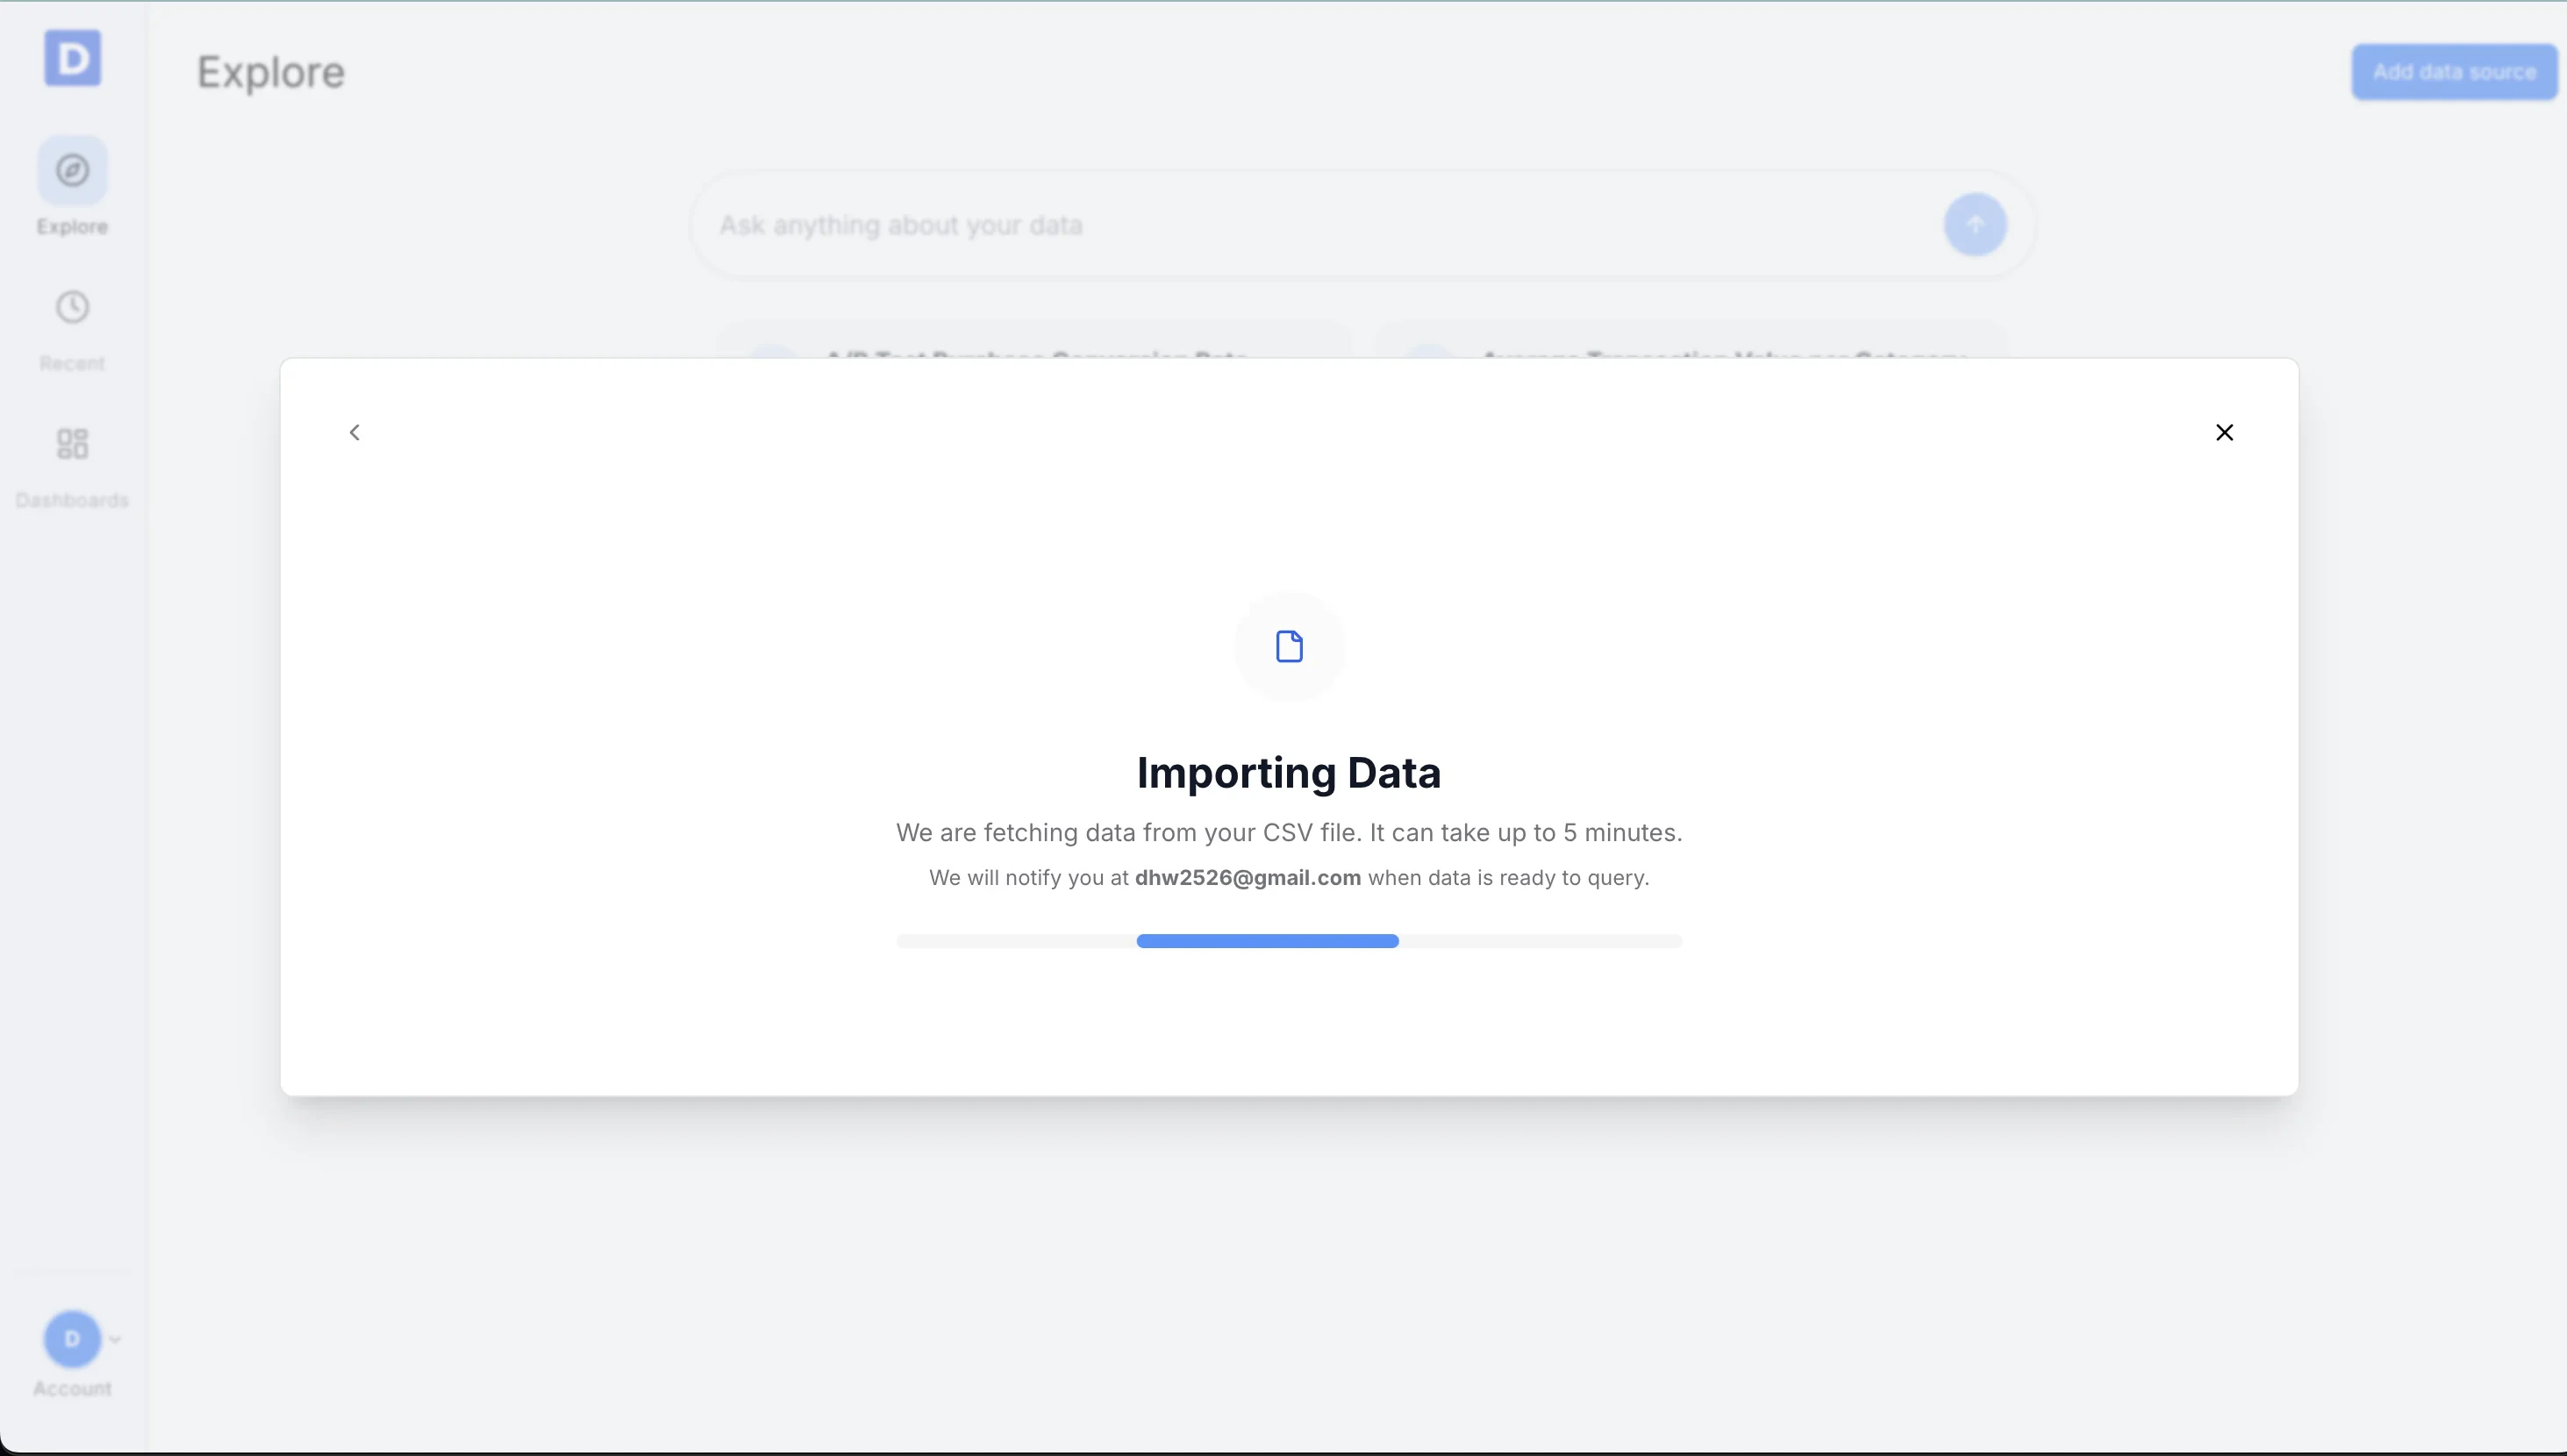
Import Data
Daymark imports the file and prepares the data for analysis. Once the import is complete successfully, you can start analyzing the data in Daymark.