> ## Documentation Index
> Fetch the complete documentation index at: https://docs.usedaymark.io/llms.txt
> Use this file to discover all available pages before exploring further.
# NeonDB
> Connect NeonDB to Daymark using a connection string
## Overview
Daymark connects to NeonDB through a PostgreSQL connection string.
This guide shows where to find it in Neon and how to use it in Daymark.
***
## Get the Neon Connection String
In Neon, open the project you want to connect.
Click **Connect** to open the connection options.
In the connection string section, enable **Show password** so the full string is visible.
Copy the full connection string.
***
## Connect NeonDB in Daymark
### Open the Explore Page
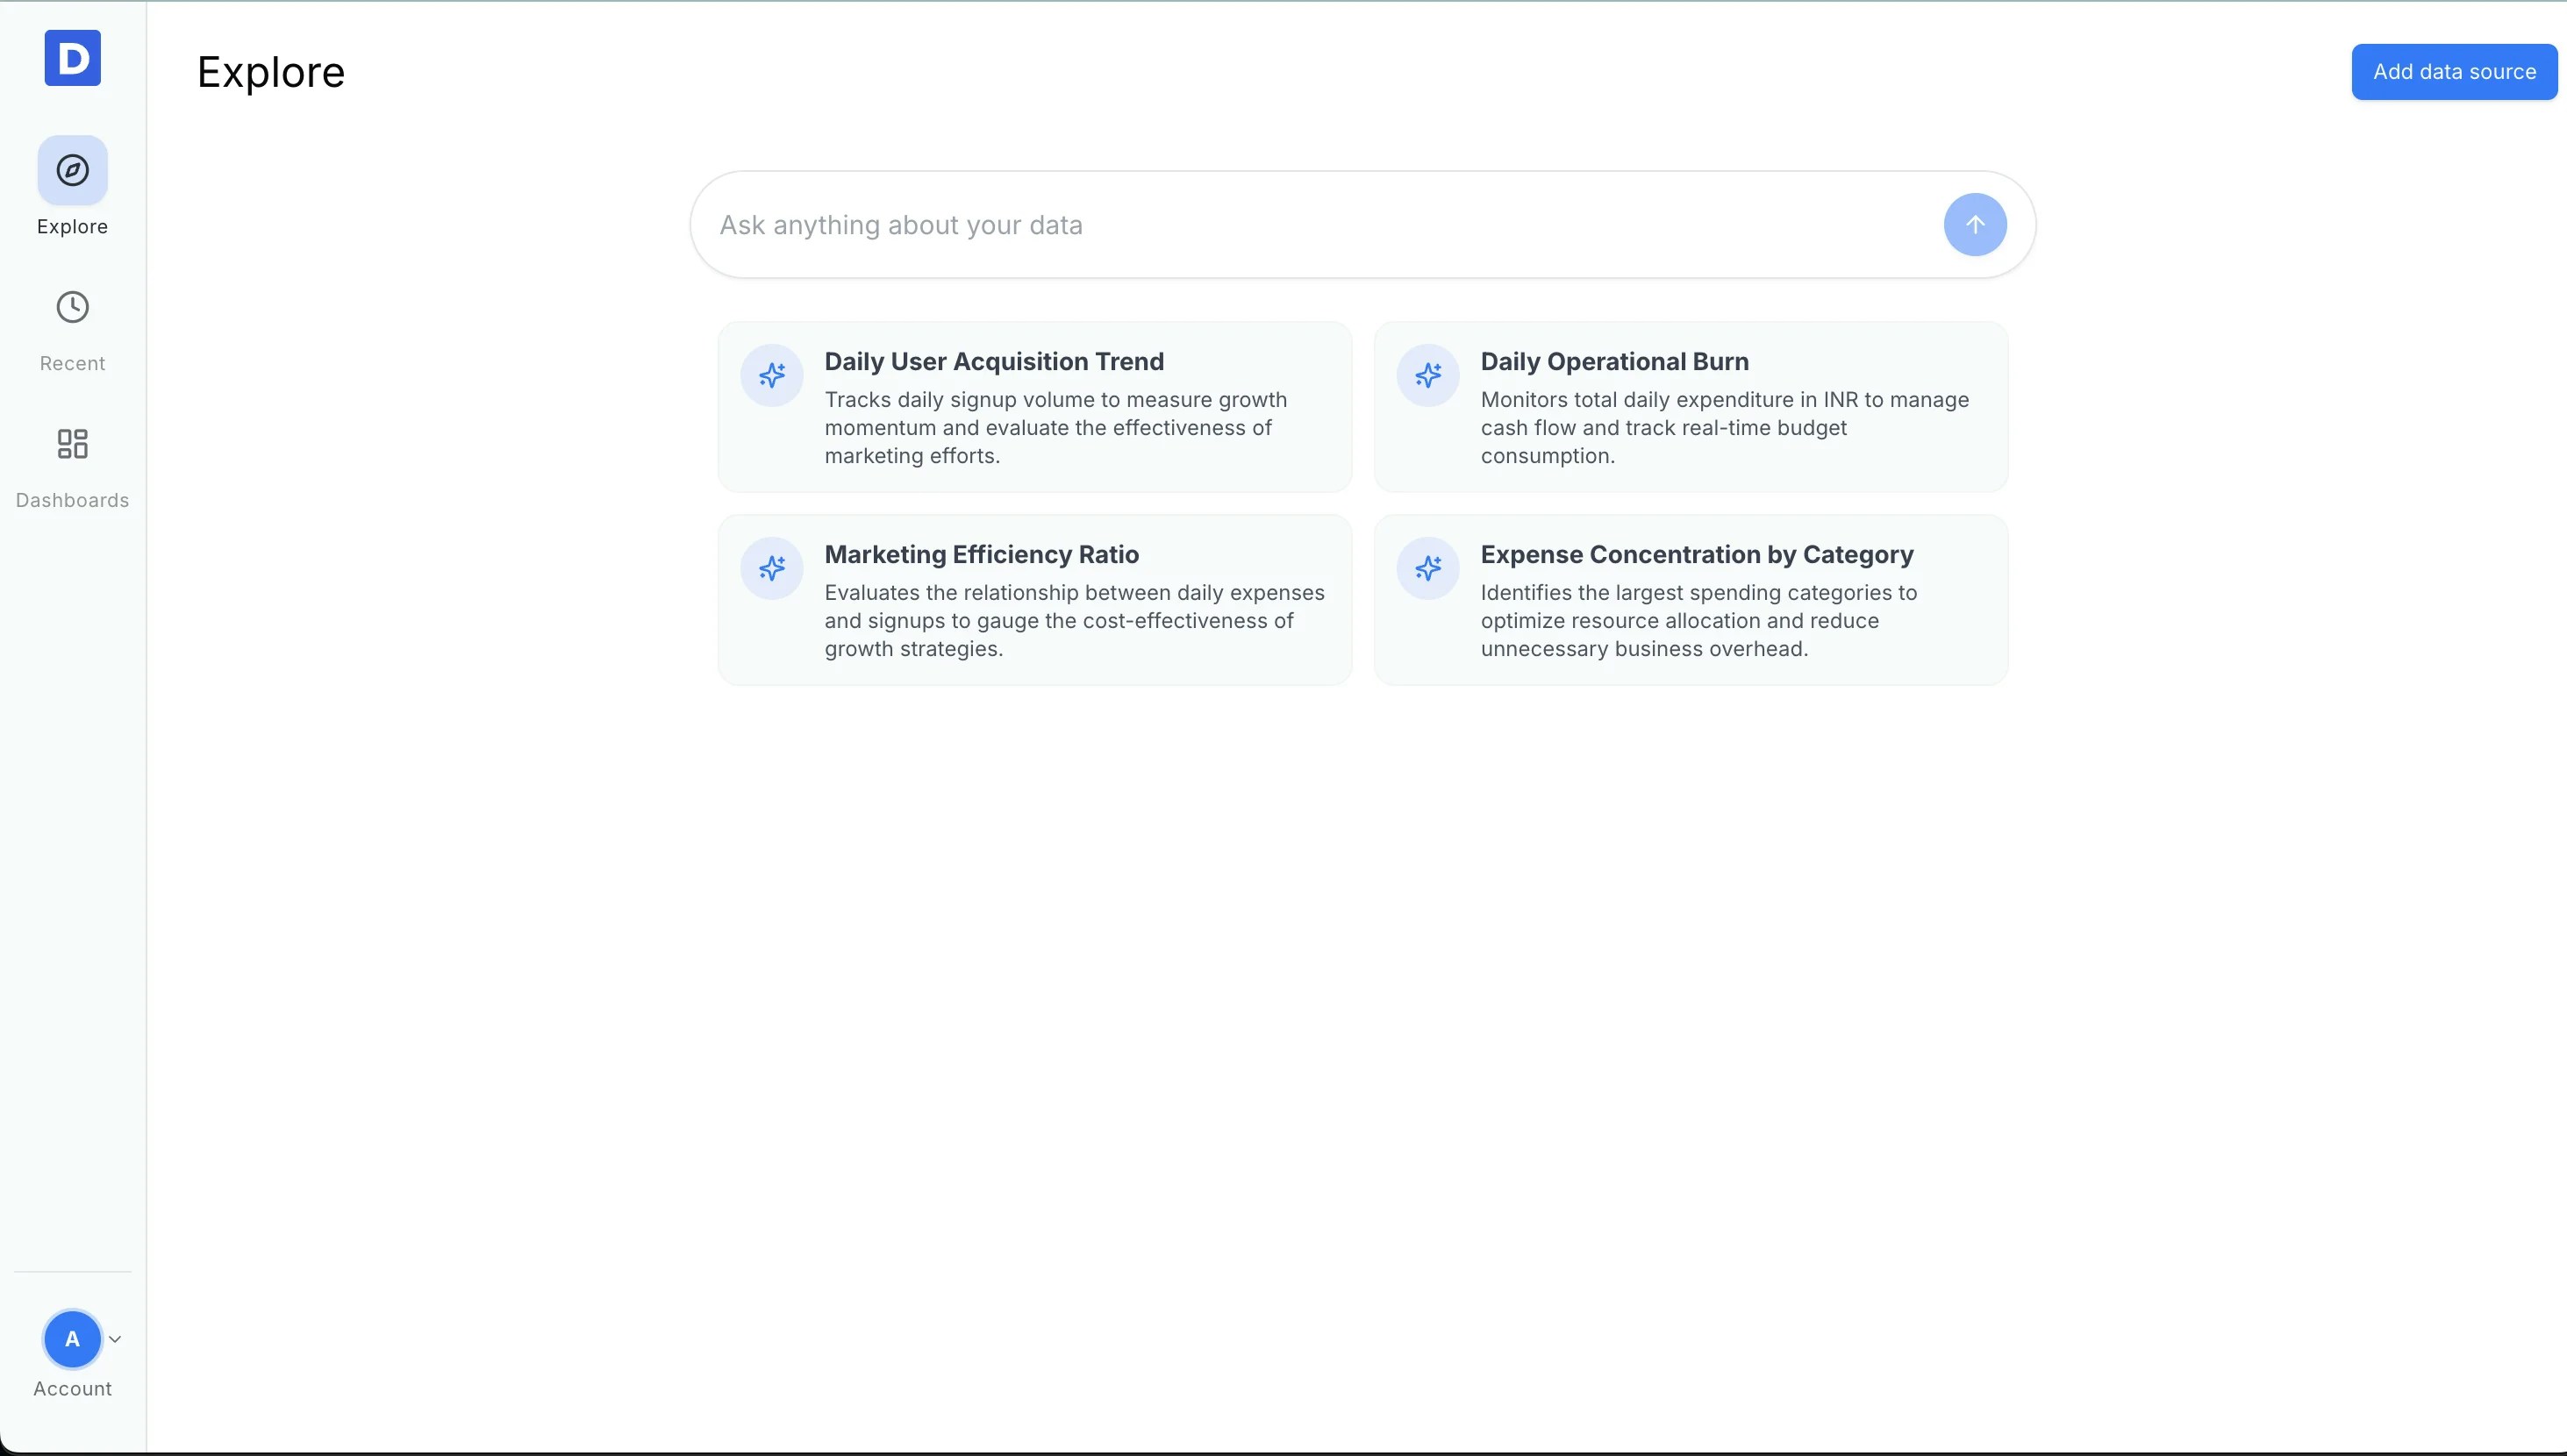
After login, open the Explore page and click **Add Data Source**.
 ### Choose PostgreSQL
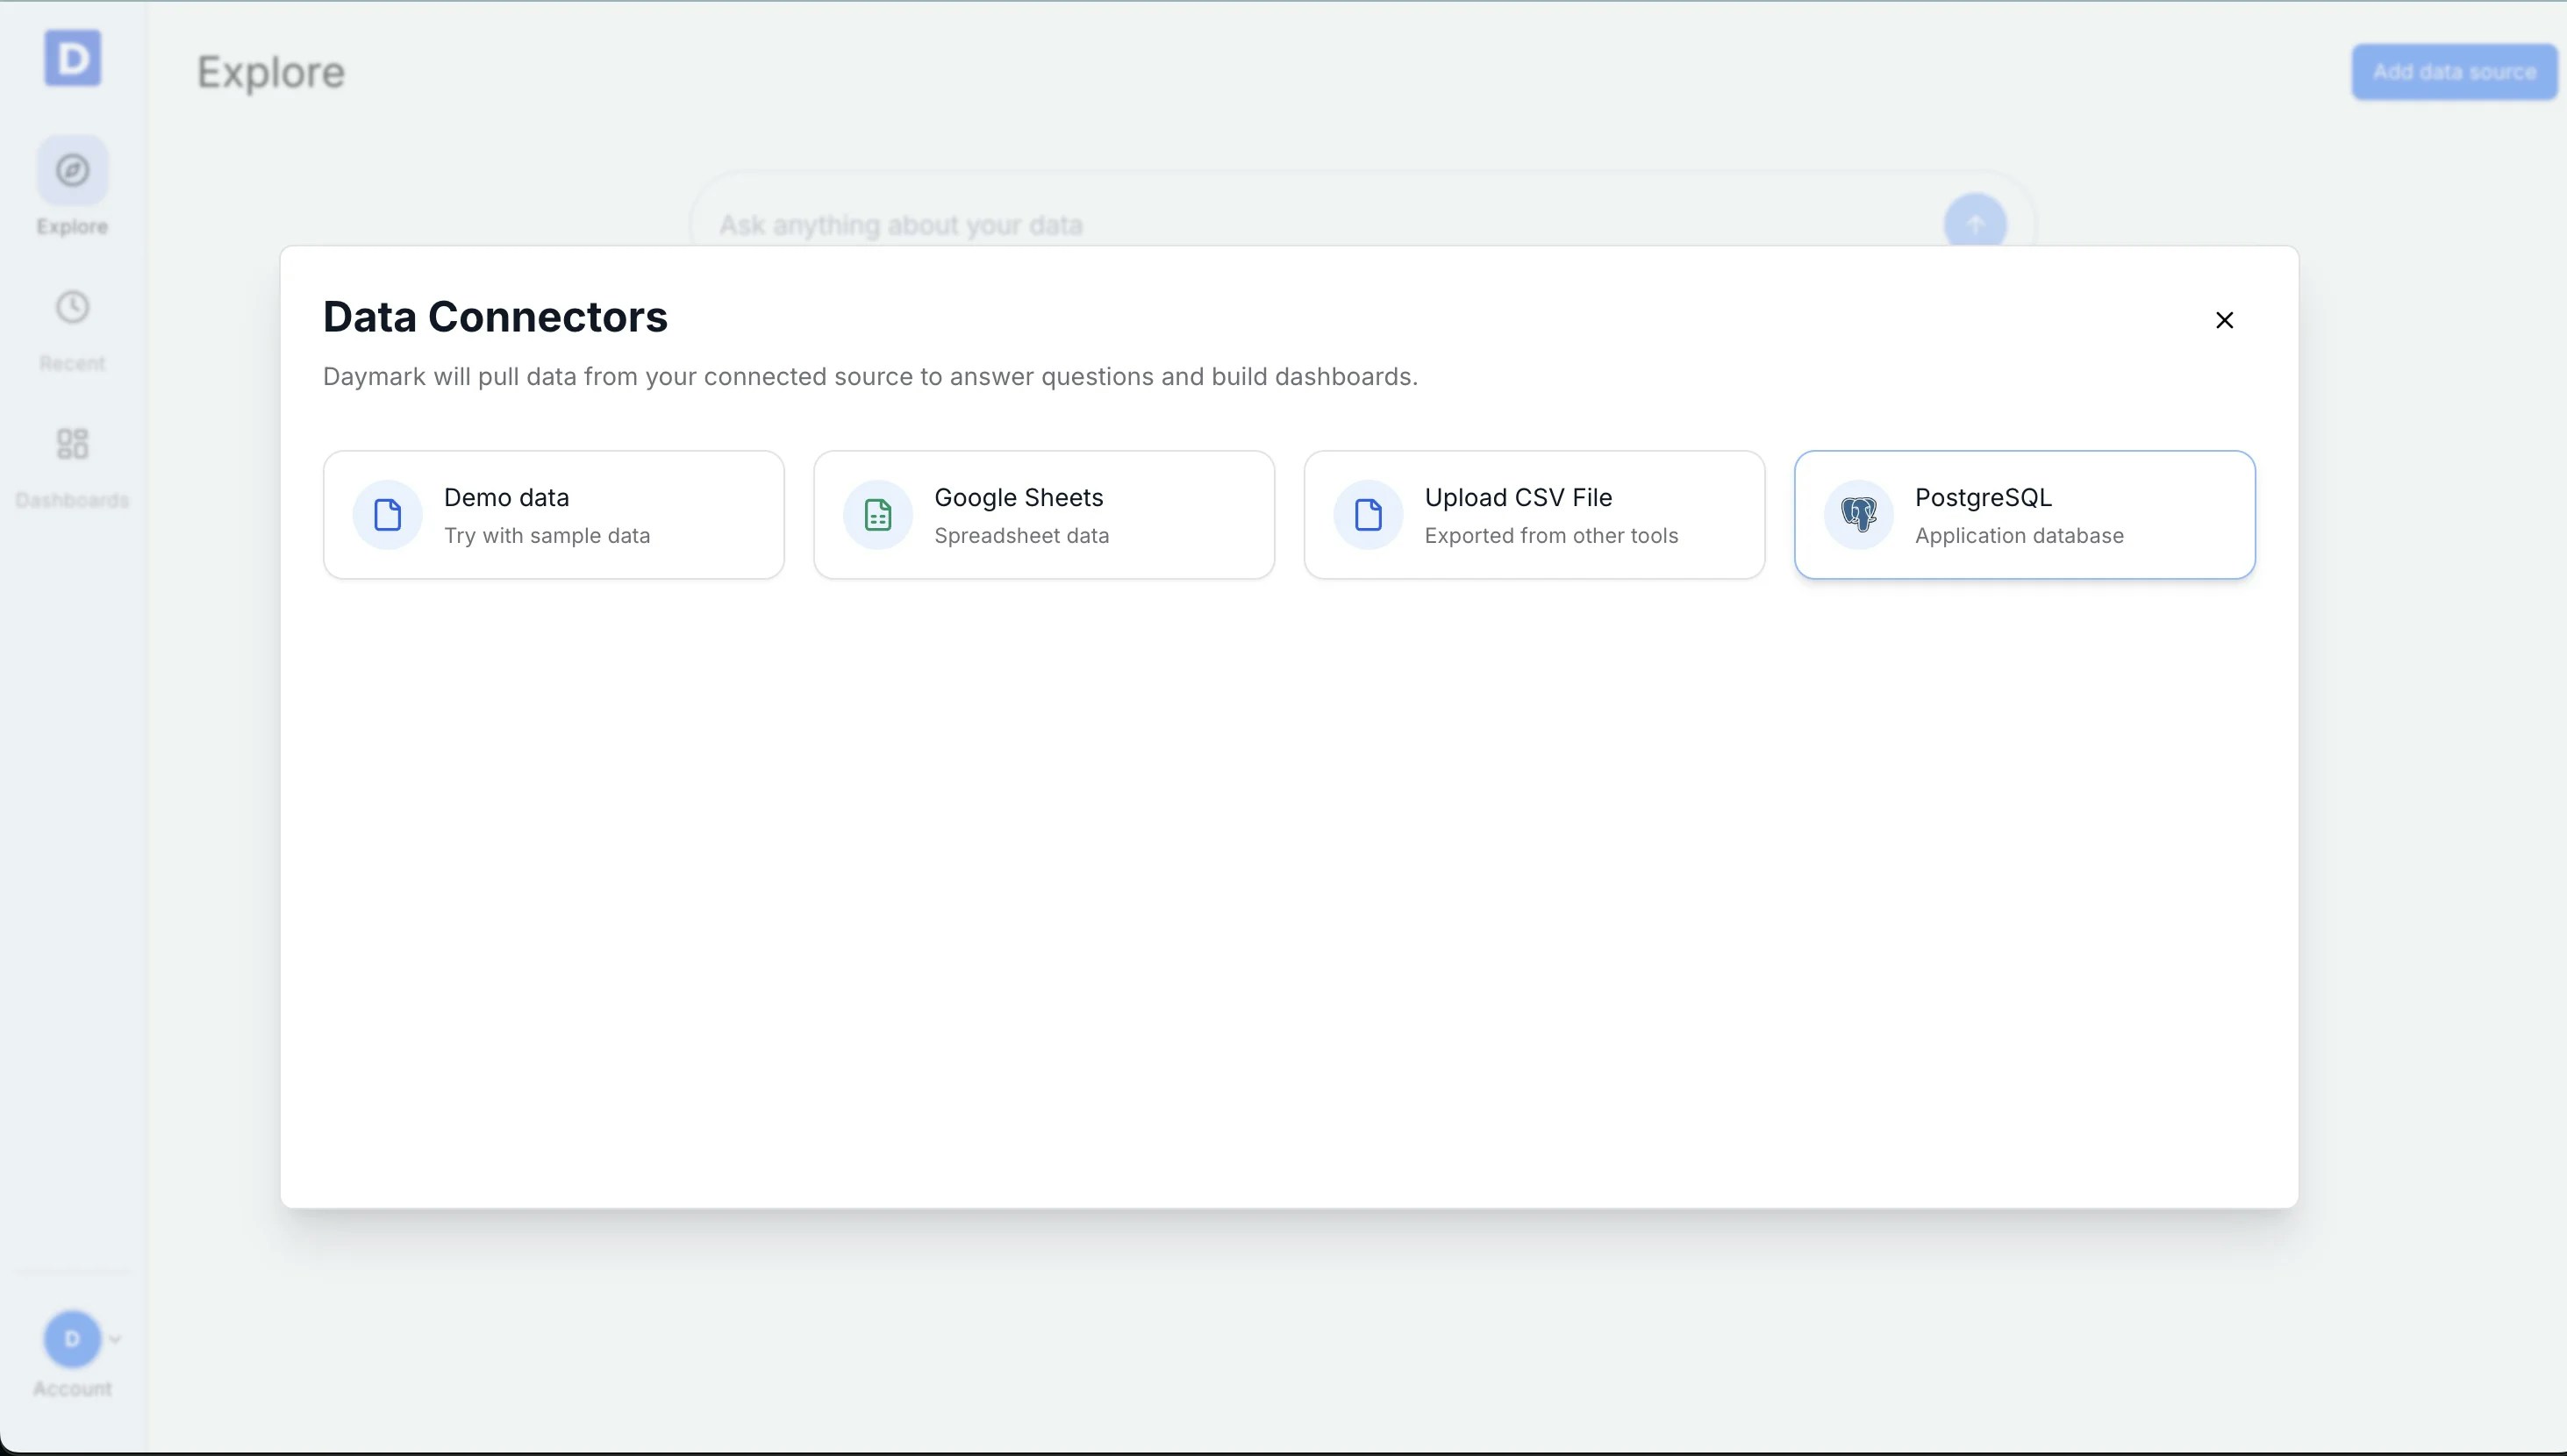
Choose **PostgreSQL** as the data source.
### Choose PostgreSQL
Choose **PostgreSQL** as the data source.
 ### Enter Connection Details
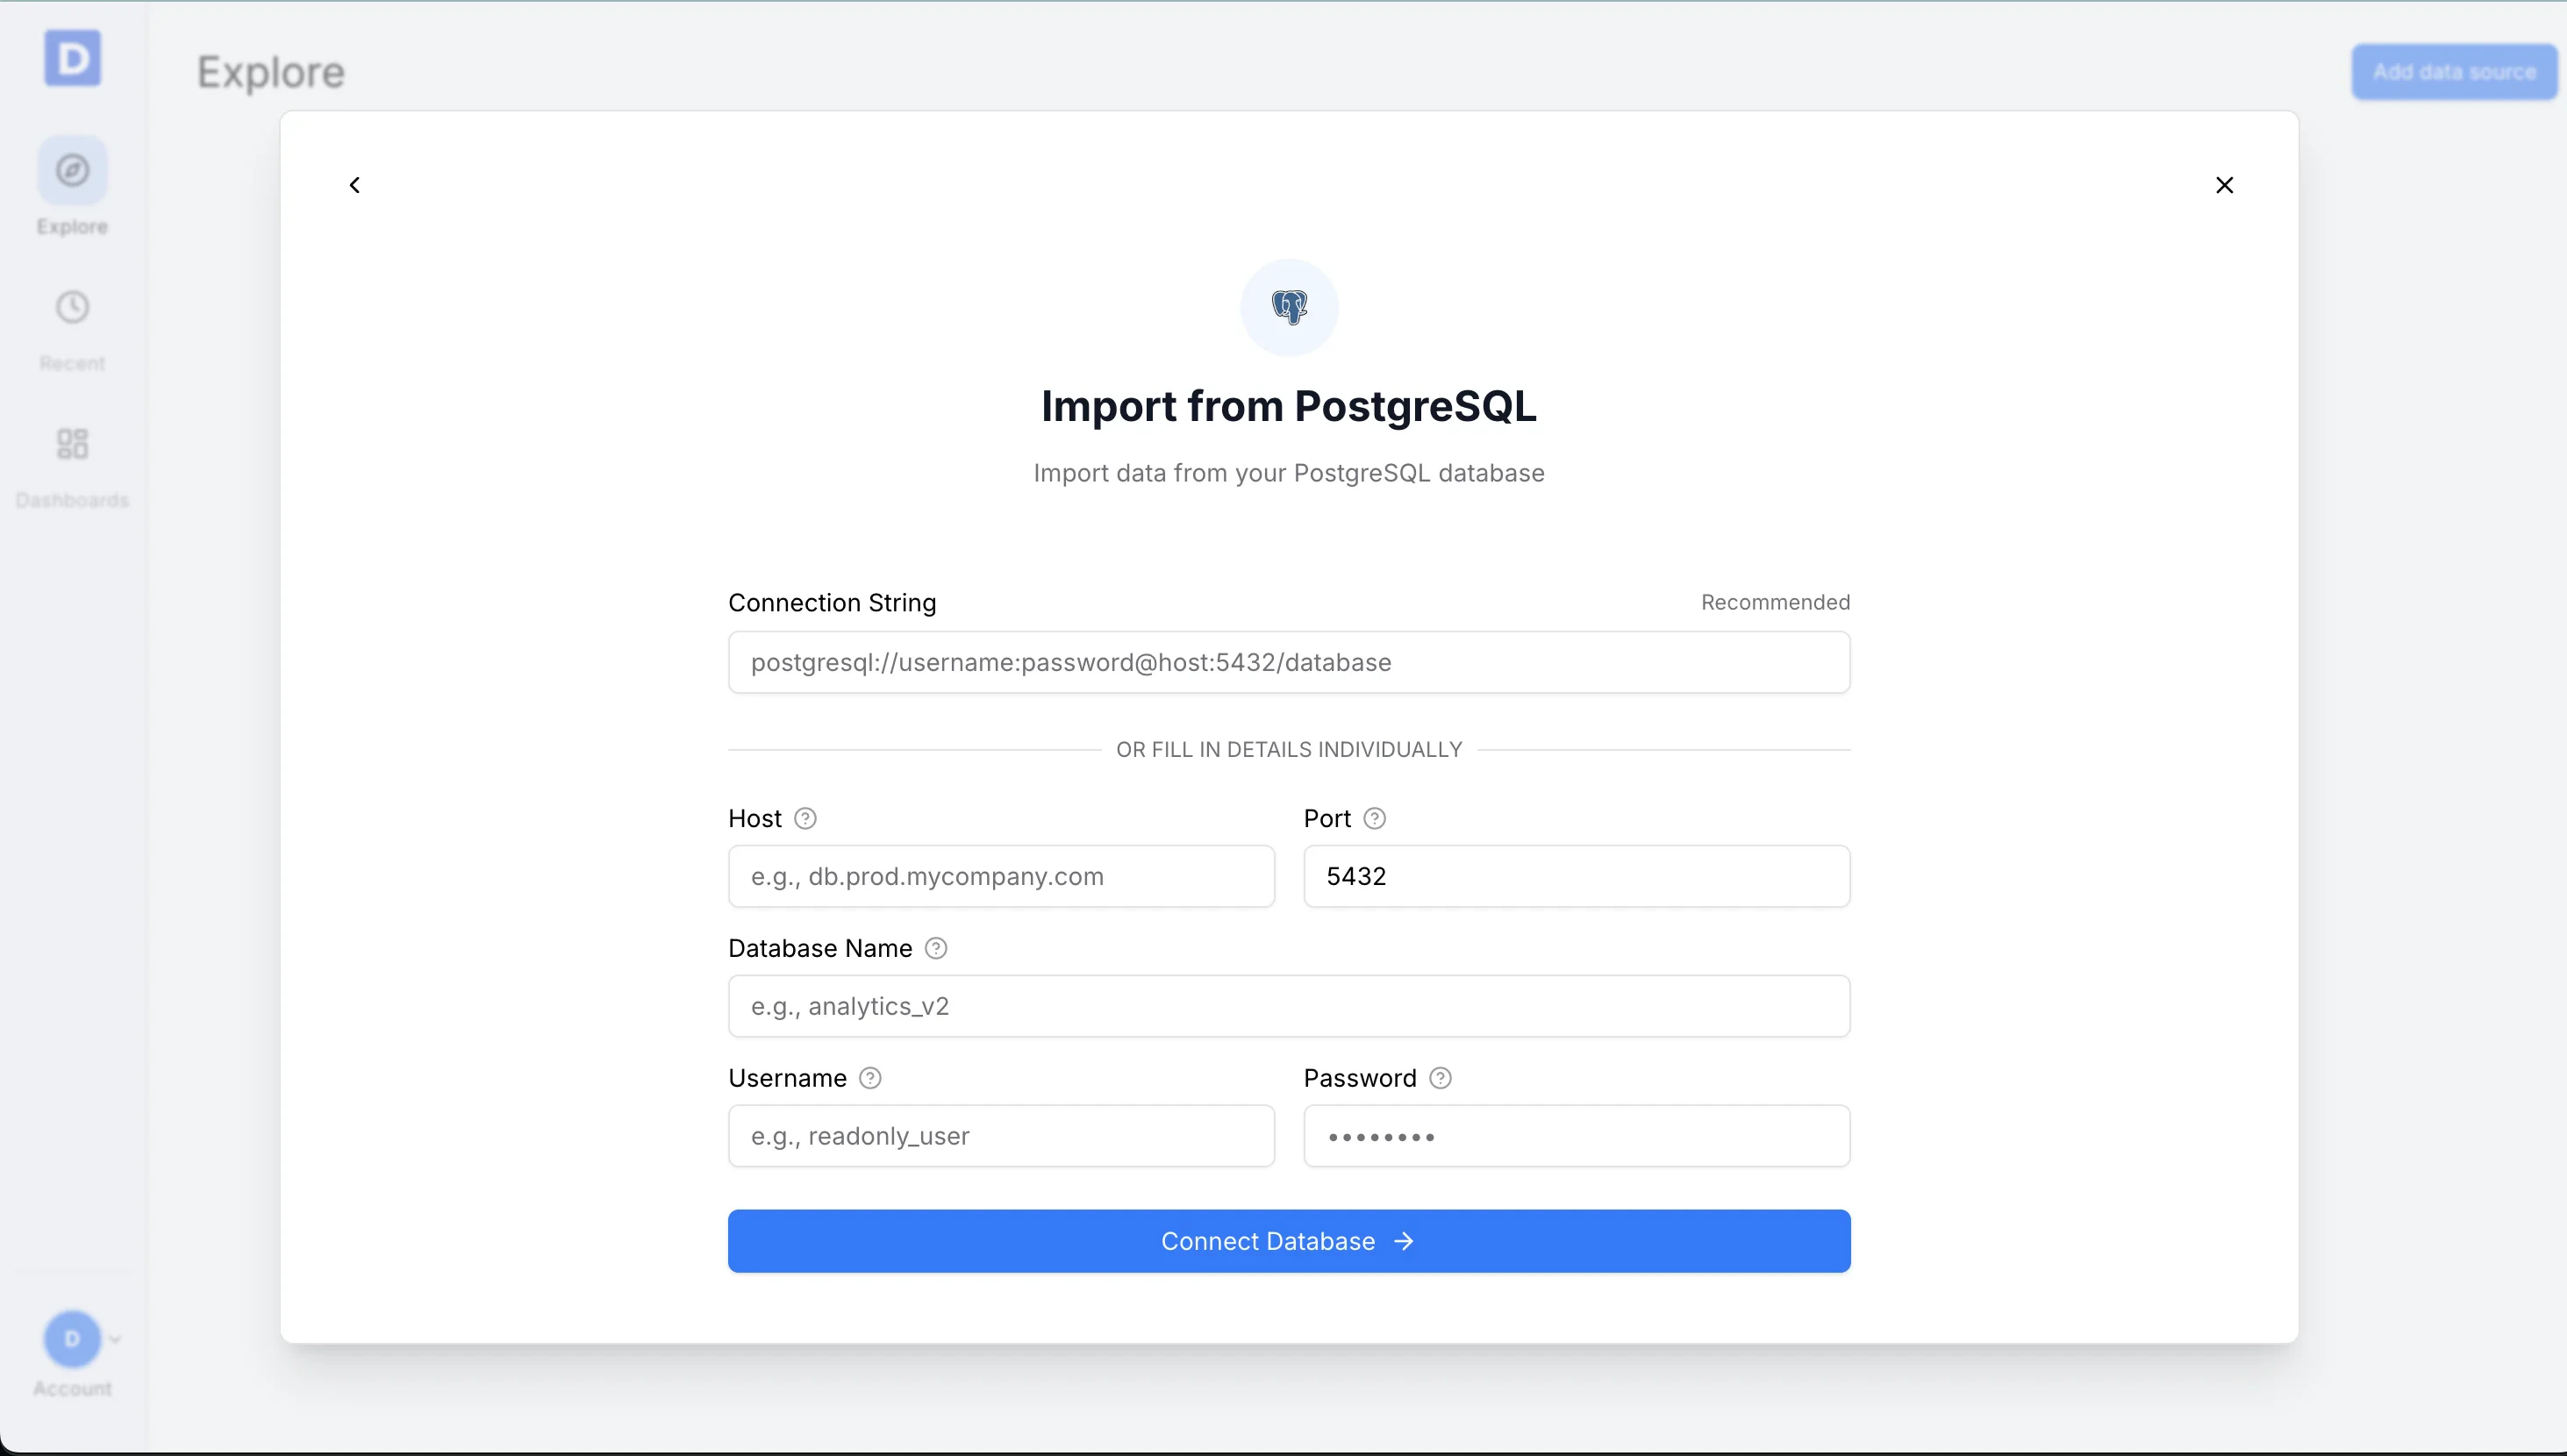
Paste the Neon connection string into the **Connection string** field.
### Enter Connection Details
Paste the Neon connection string into the **Connection string** field.
 ### Select Tables and Fields
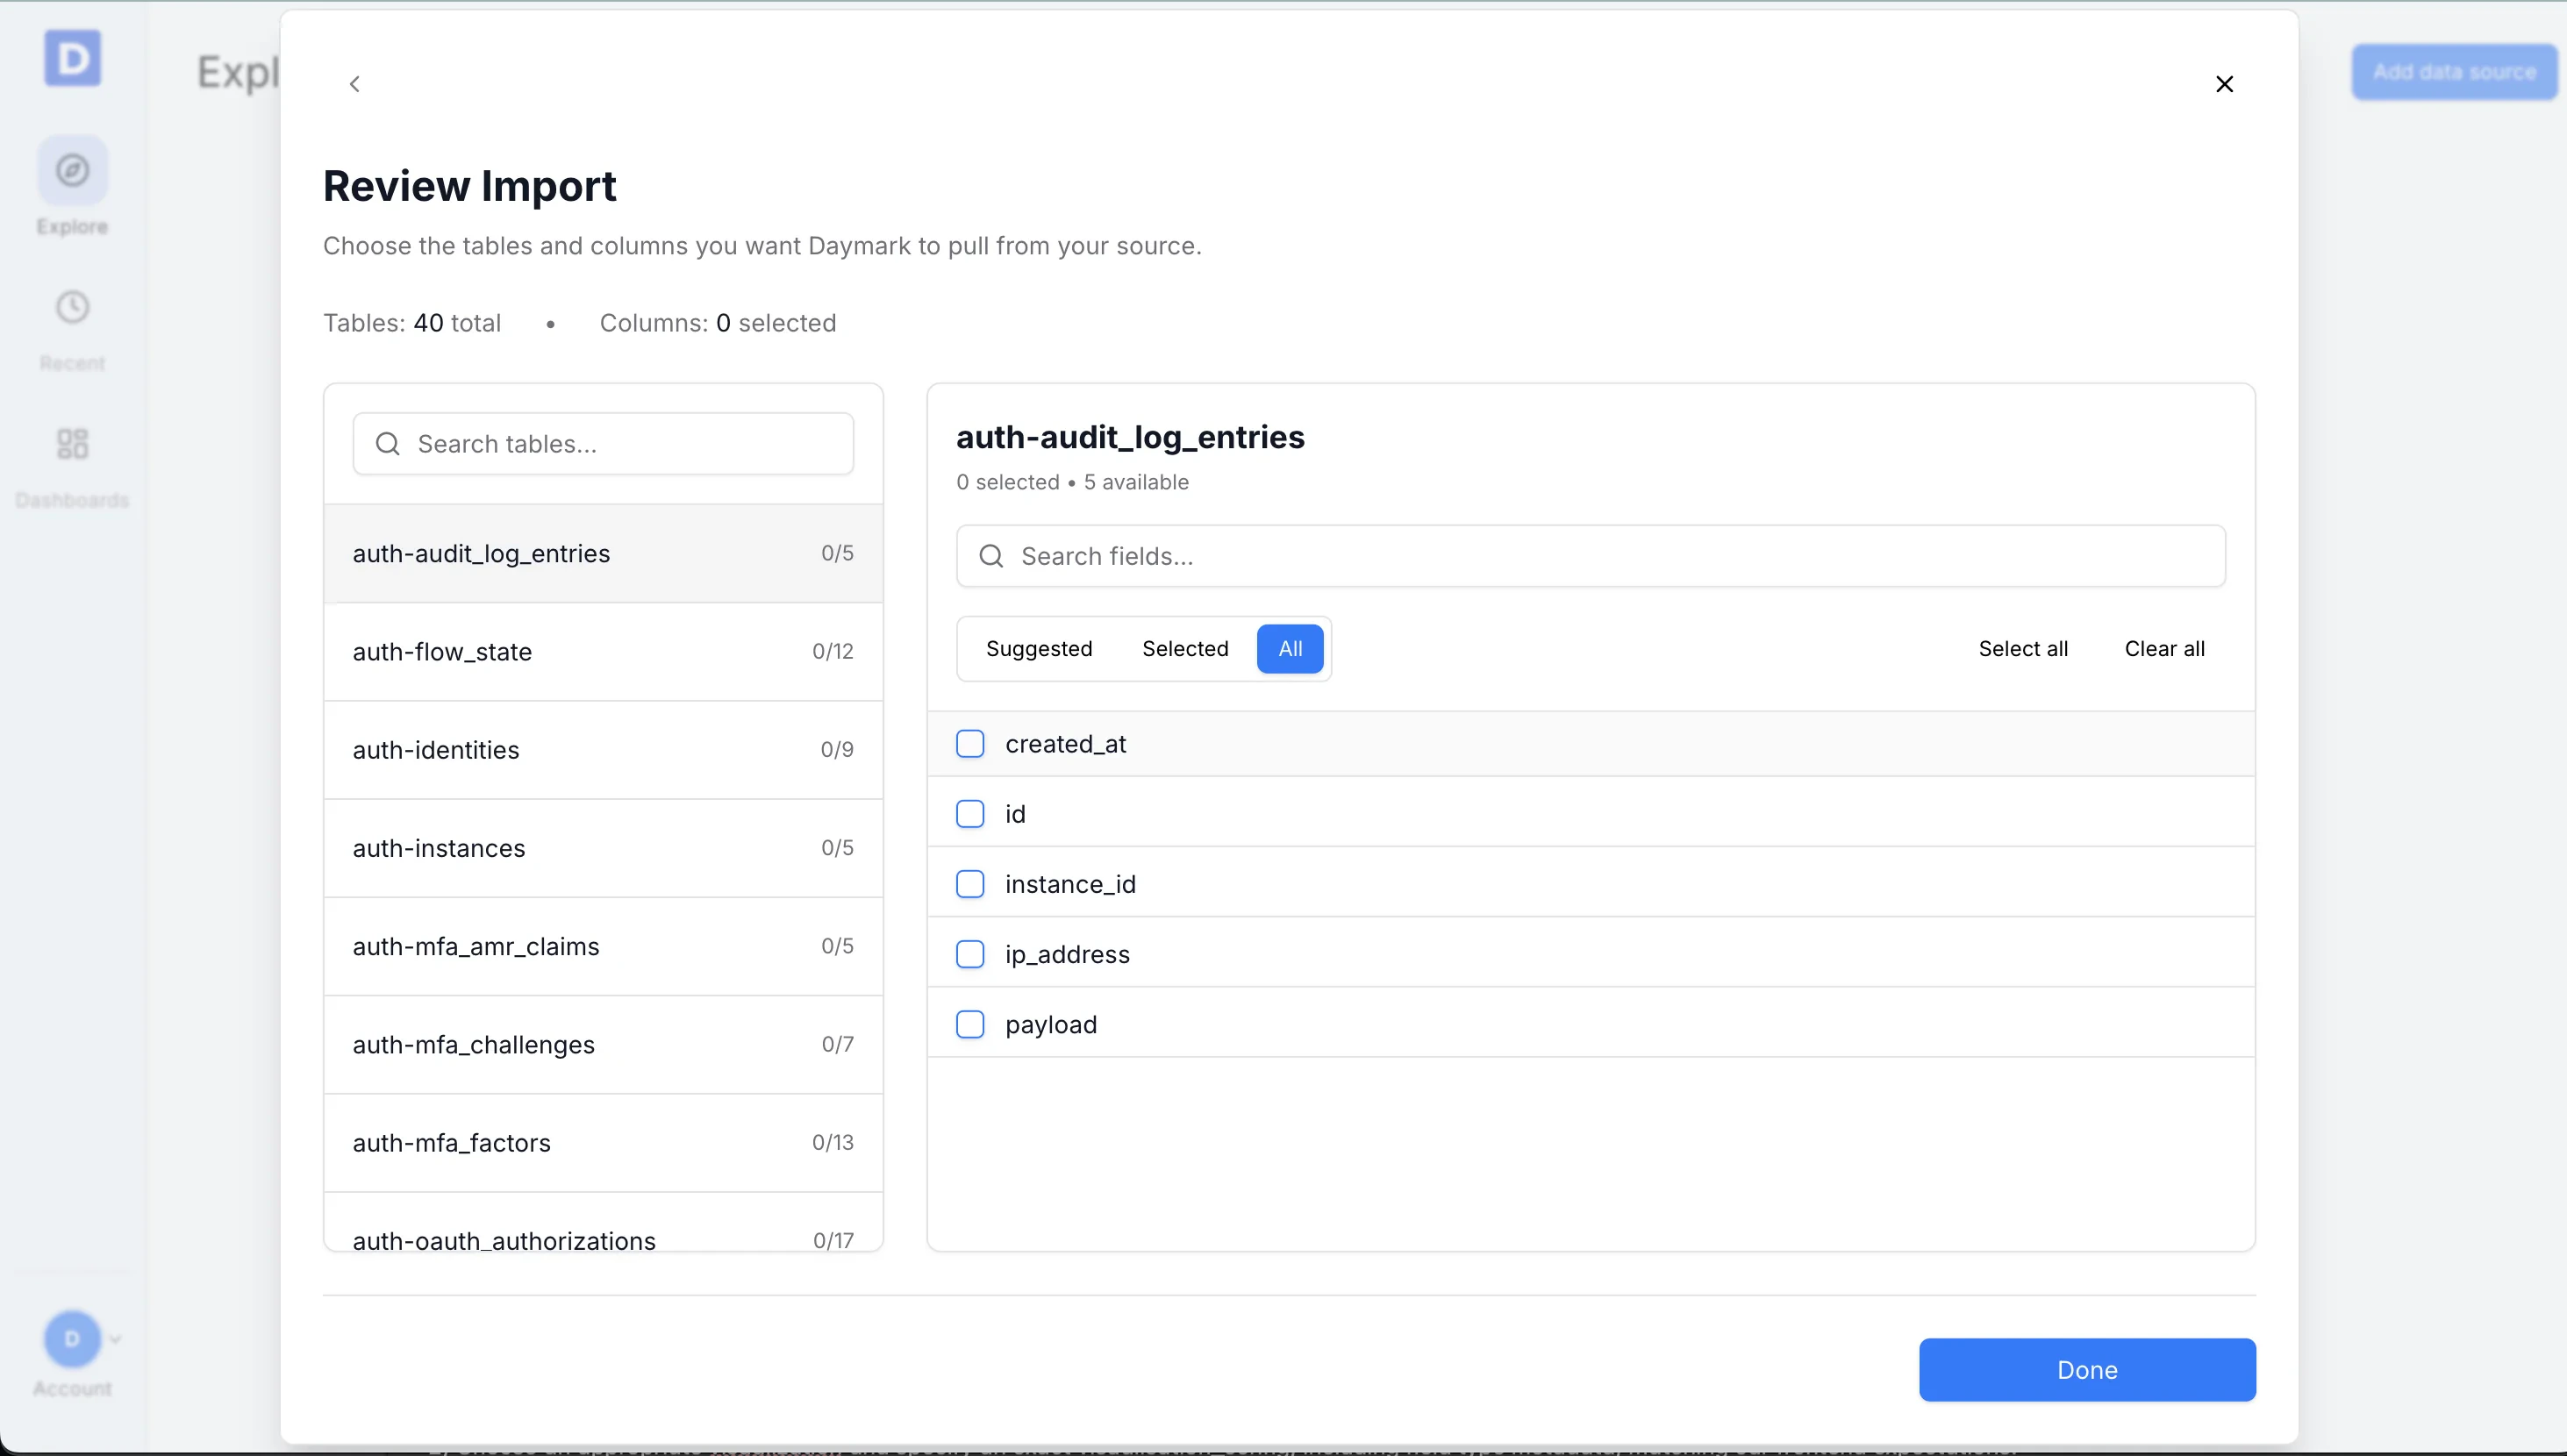
Choose the tables and columns you want to include.
### Select Tables and Fields
Choose the tables and columns you want to include.
 ### Connect and Import
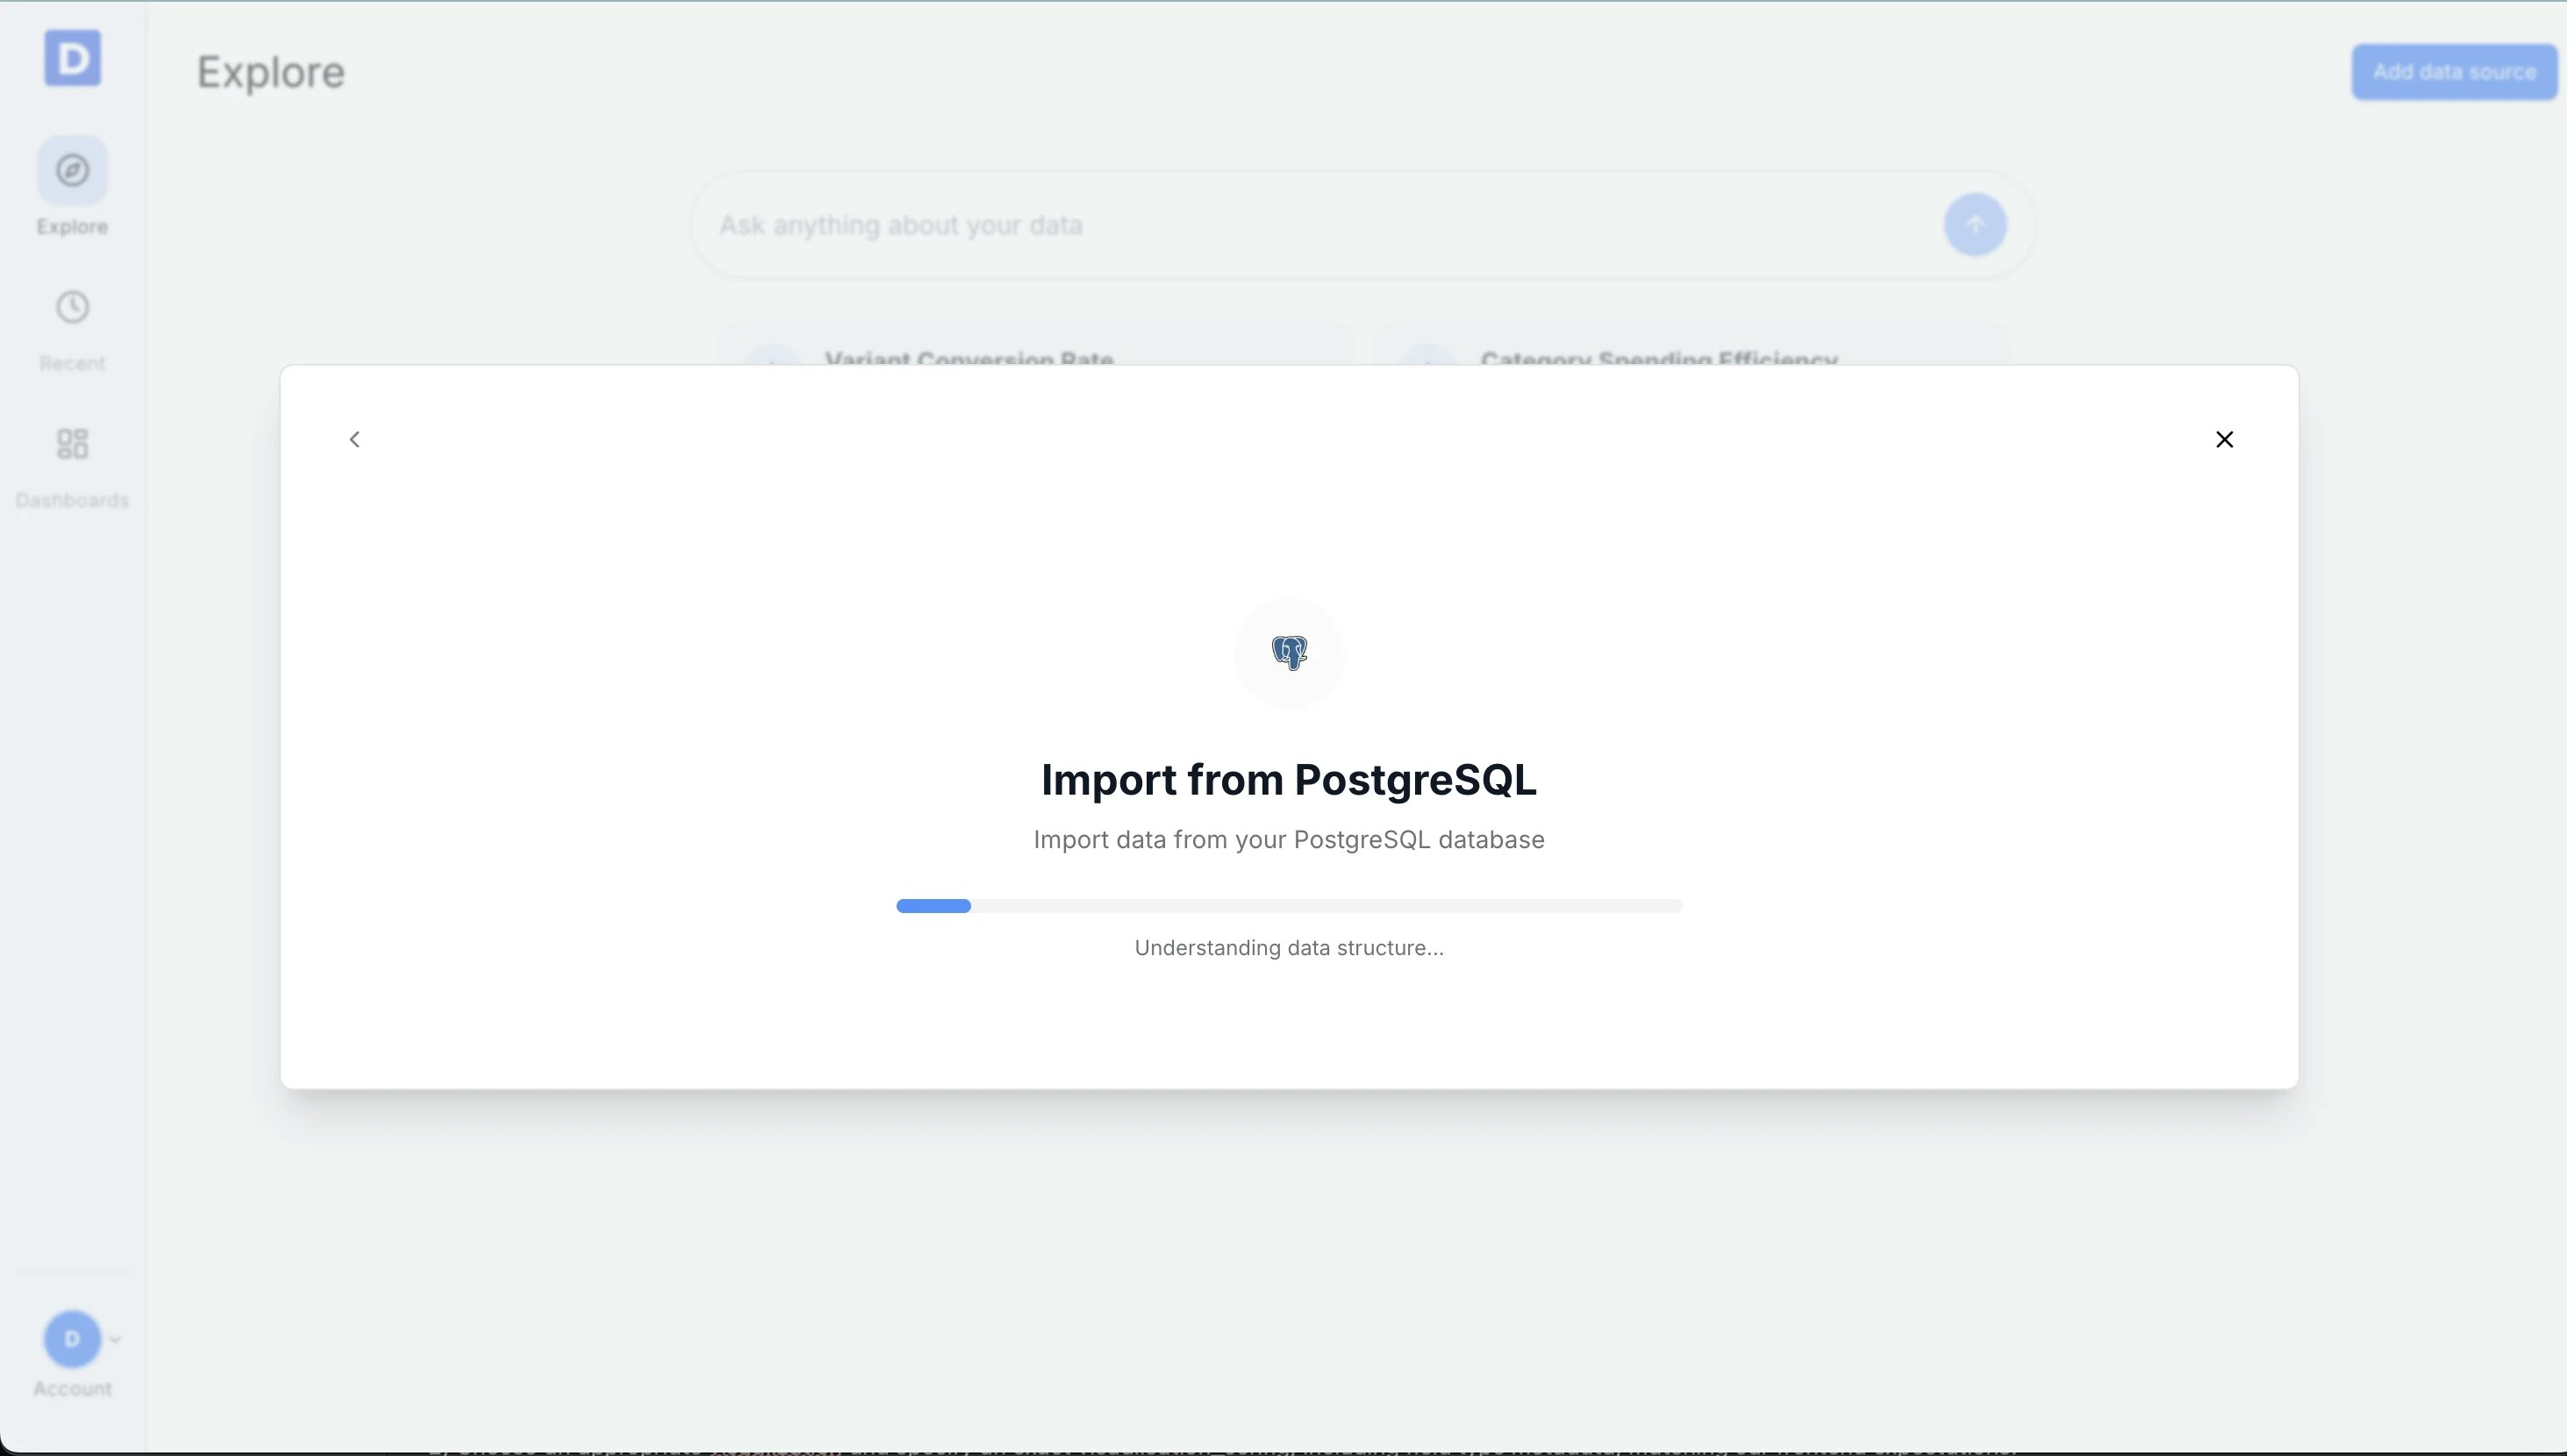
Daymark shows the import progress as it pulls in your data. Once the import is complete successfully, you can start analyzing the data in Daymark.
### Connect and Import
Daymark shows the import progress as it pulls in your data. Once the import is complete successfully, you can start analyzing the data in Daymark.
 ***
## Connection Complete
Once the import completes successfully, ask your questions on the Explore page to see trends, patterns, and insights from your data in Daymark.
***
## Connection Complete
Once the import completes successfully, ask your questions on the Explore page to see trends, patterns, and insights from your data in Daymark.