> ## Documentation Index
> Fetch the complete documentation index at: https://docs.usedaymark.io/llms.txt
> Use this file to discover all available pages before exploring further.
# Connect Shopify
> Connect Shopify to Daymark with guided setup steps
## Overview
Daymark's Shopify connector lets you bring your Shopify store data into Daymark for analysis, dashboards, and cross-source reporting.
This guide walks through:
* Creating an app in Shopify Dev Dashboard
* Configuring required API scopes
* Entering your Shopify credentials in Daymark
* Completing OAuth and importing data
***
## Prerequisite: Create a Shopify app in Dev Dashboard
Before starting the integration in Daymark, create and configure your app in the Shopify Dev Dashboard.
### Step 1: Create the app
1. Open the [Shopify Dev Dashboard](https://dev.shopify.com/dashboard/).
2. In the left navigation, select **Apps**.
3. Click **Create app**.
4. Select **Start from Dev Dashboard**.
5. Name your app (for example, **Daymark**) and click **Create**.
### Step 2: Configure access and required scopes
1. Open the app's **Versions** tab.
2. In **Access > Scopes**, add the required scopes below.
3. If Shopify shows that some scopes require permission, click **Request access** from the same screen.
4. In **API access requests**, open **Protected customer data access** and click **Request access**.
5. In **Select your data use and reasons**, choose **App functionality**.
6. In **Protected customer fields**, select **Name**, **Email**, **Phone**, and **Address**, and set the reason to **App functionality** for each field.
7. Save your access request details.
Use this exact scopes list:
```text theme={null}
read_assigned_fulfillment_orders,read_audit_events,read_customer_events,read_checkouts,read_customers,read_fulfillments,read_gift_card_transactions,read_inventory,read_inventory_shipments,read_inventory_shipments_received_items,read_inventory_transfers,read_locations,read_marketing_events,read_merchant_managed_fulfillment_orders,read_orders,read_products,read_shipping,read_store_credit_account_transactions,read_third_party_fulfillment_orders,customer_read_customers,customer_read_orders,customer_read_store_credit_account_transactions,unauthenticated_read_customers
```
### Step 3: Set app URLs and release the version
1. Return to the app **Versions** tab.
2. Set **App URL** to:
```text theme={null}
https://usedaymark.io
```
3. Add **Redirect URL** as:
```text theme={null}
https://app.usedaymark.io/shopify/callback
```
4. Select the **Webhooks API version** (typically the newest version).
5. Click **Release**.
### Step 4: Get credentials
1. Open the app's **Settings** in Dev Dashboard.
2. Copy **Client ID** and **Client secret**.
Keep your Client ID and Client secret private and store them securely.
***
## Connect Shopify in Daymark
### Open the Explore Page
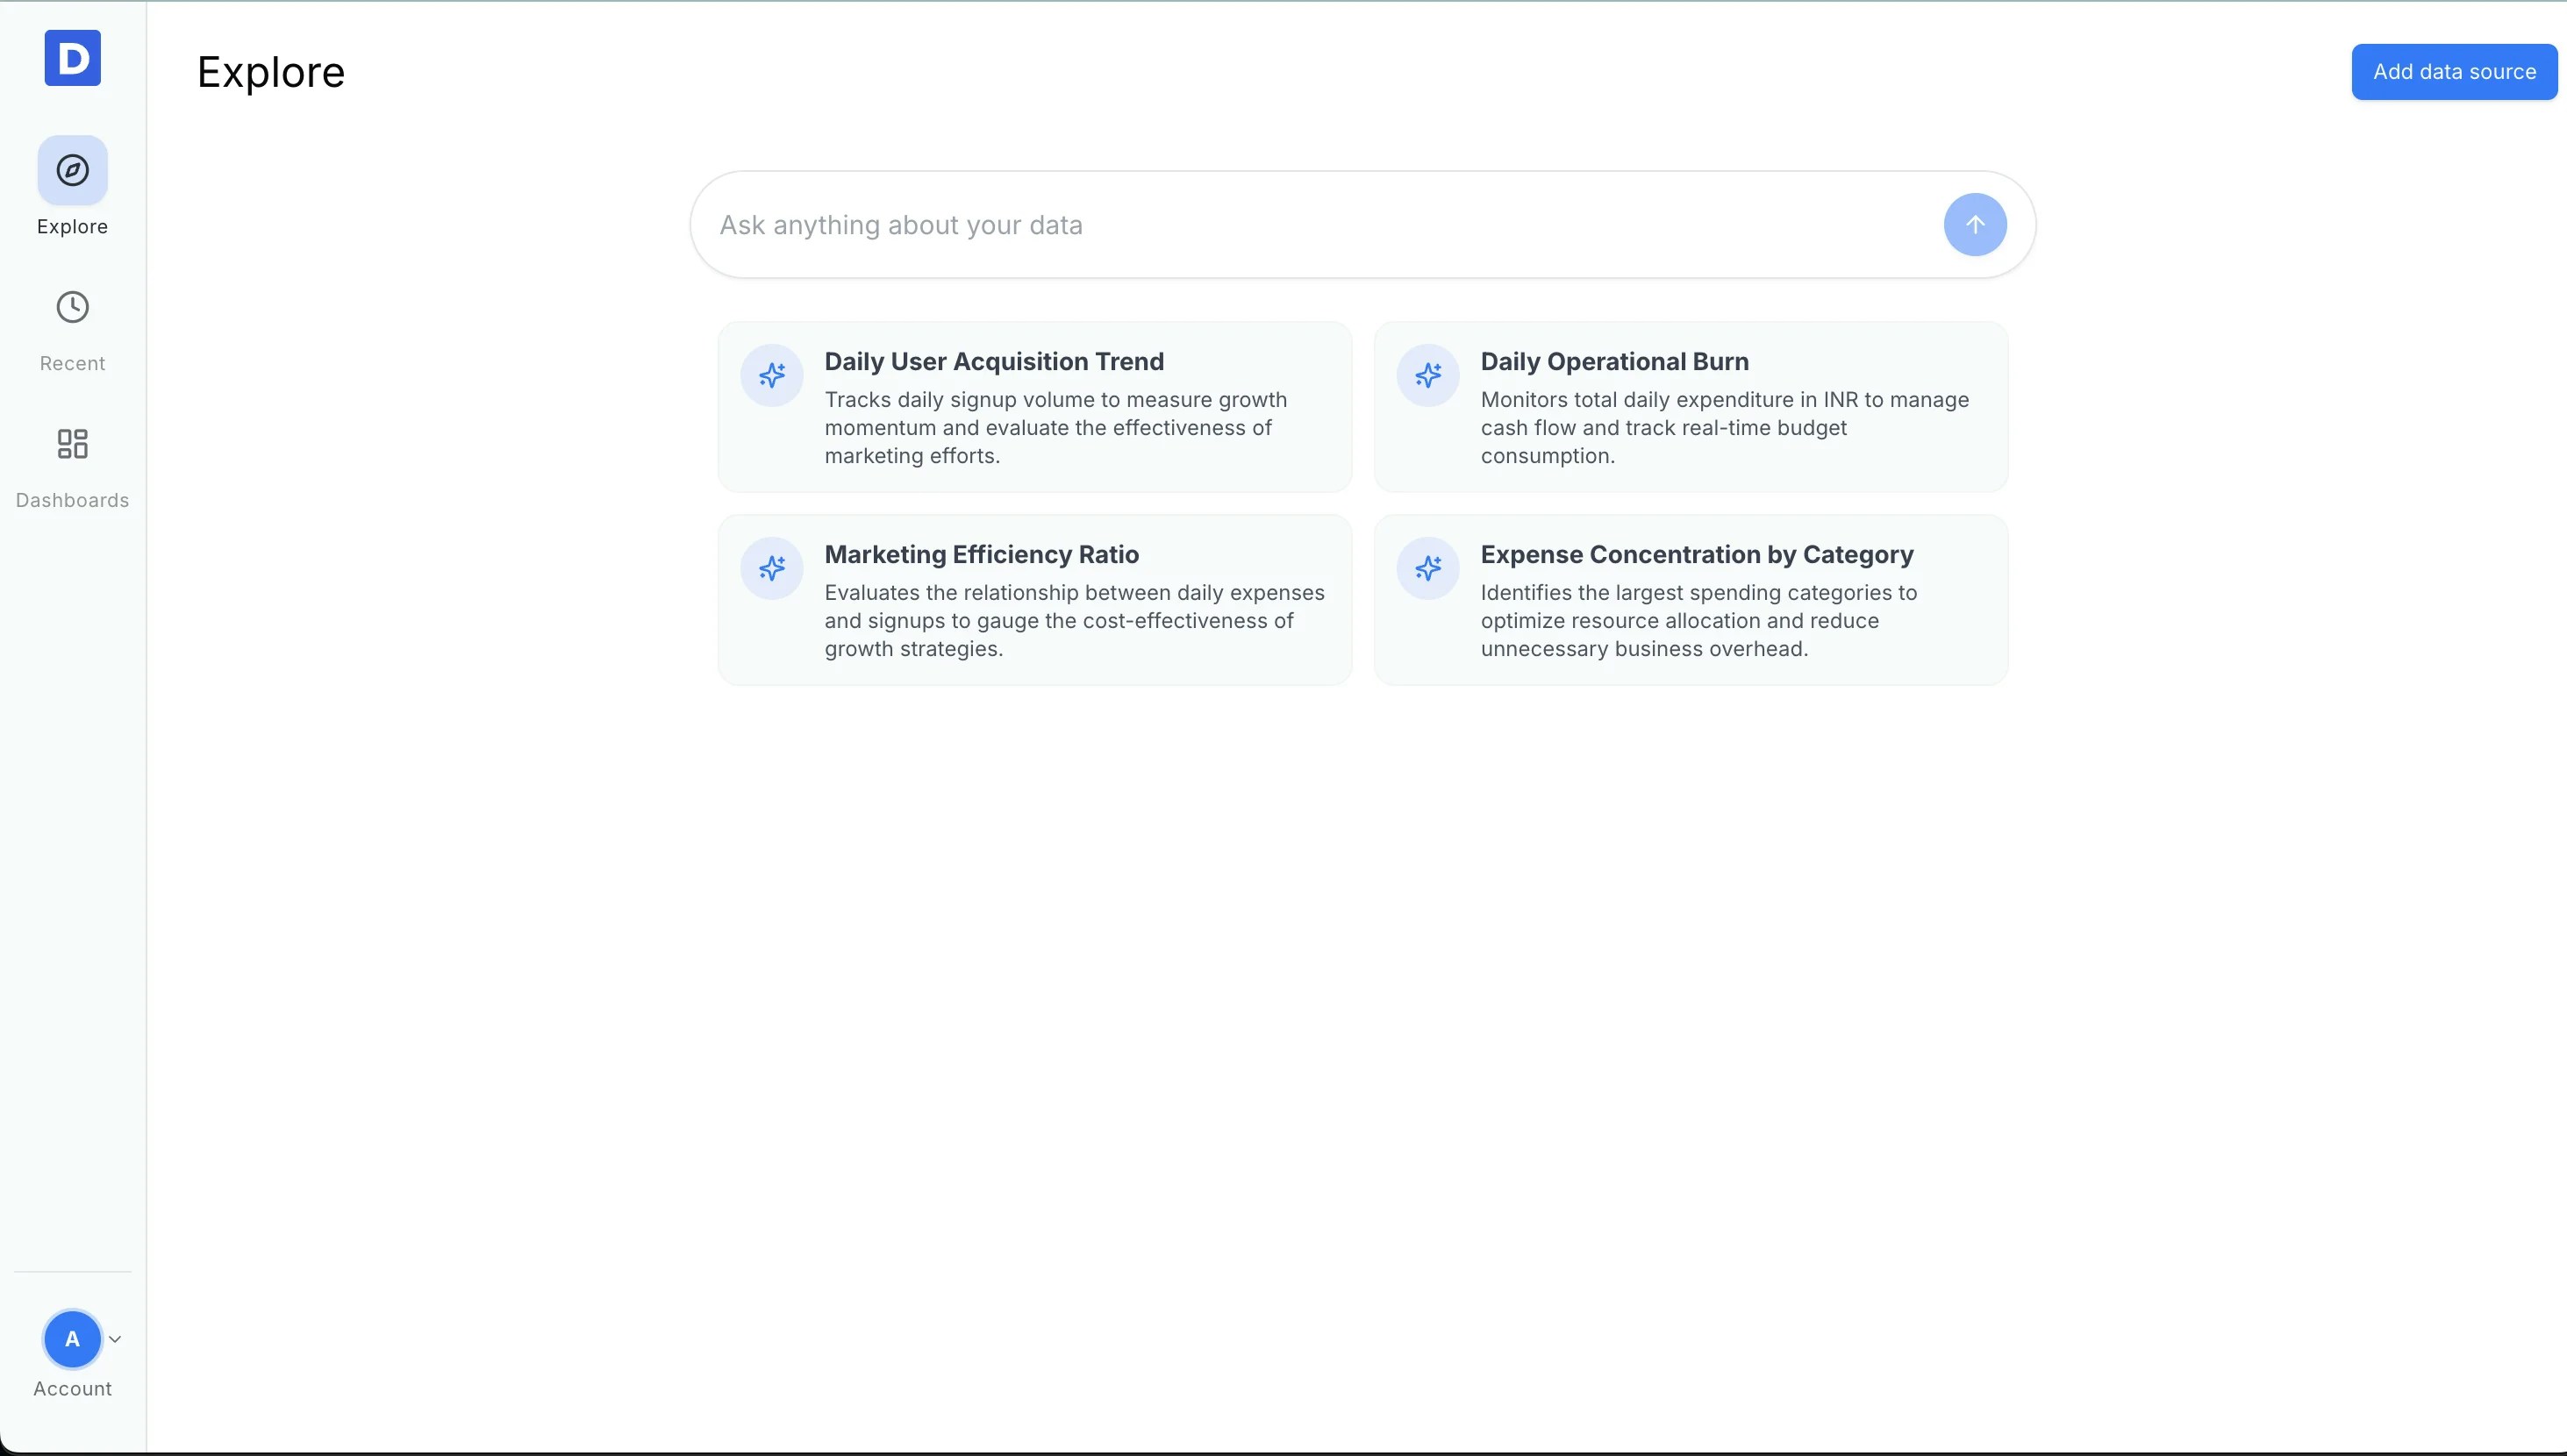
From your Daymark workspace, go to **Explore** to start the connection.
 ### Choose Shopify
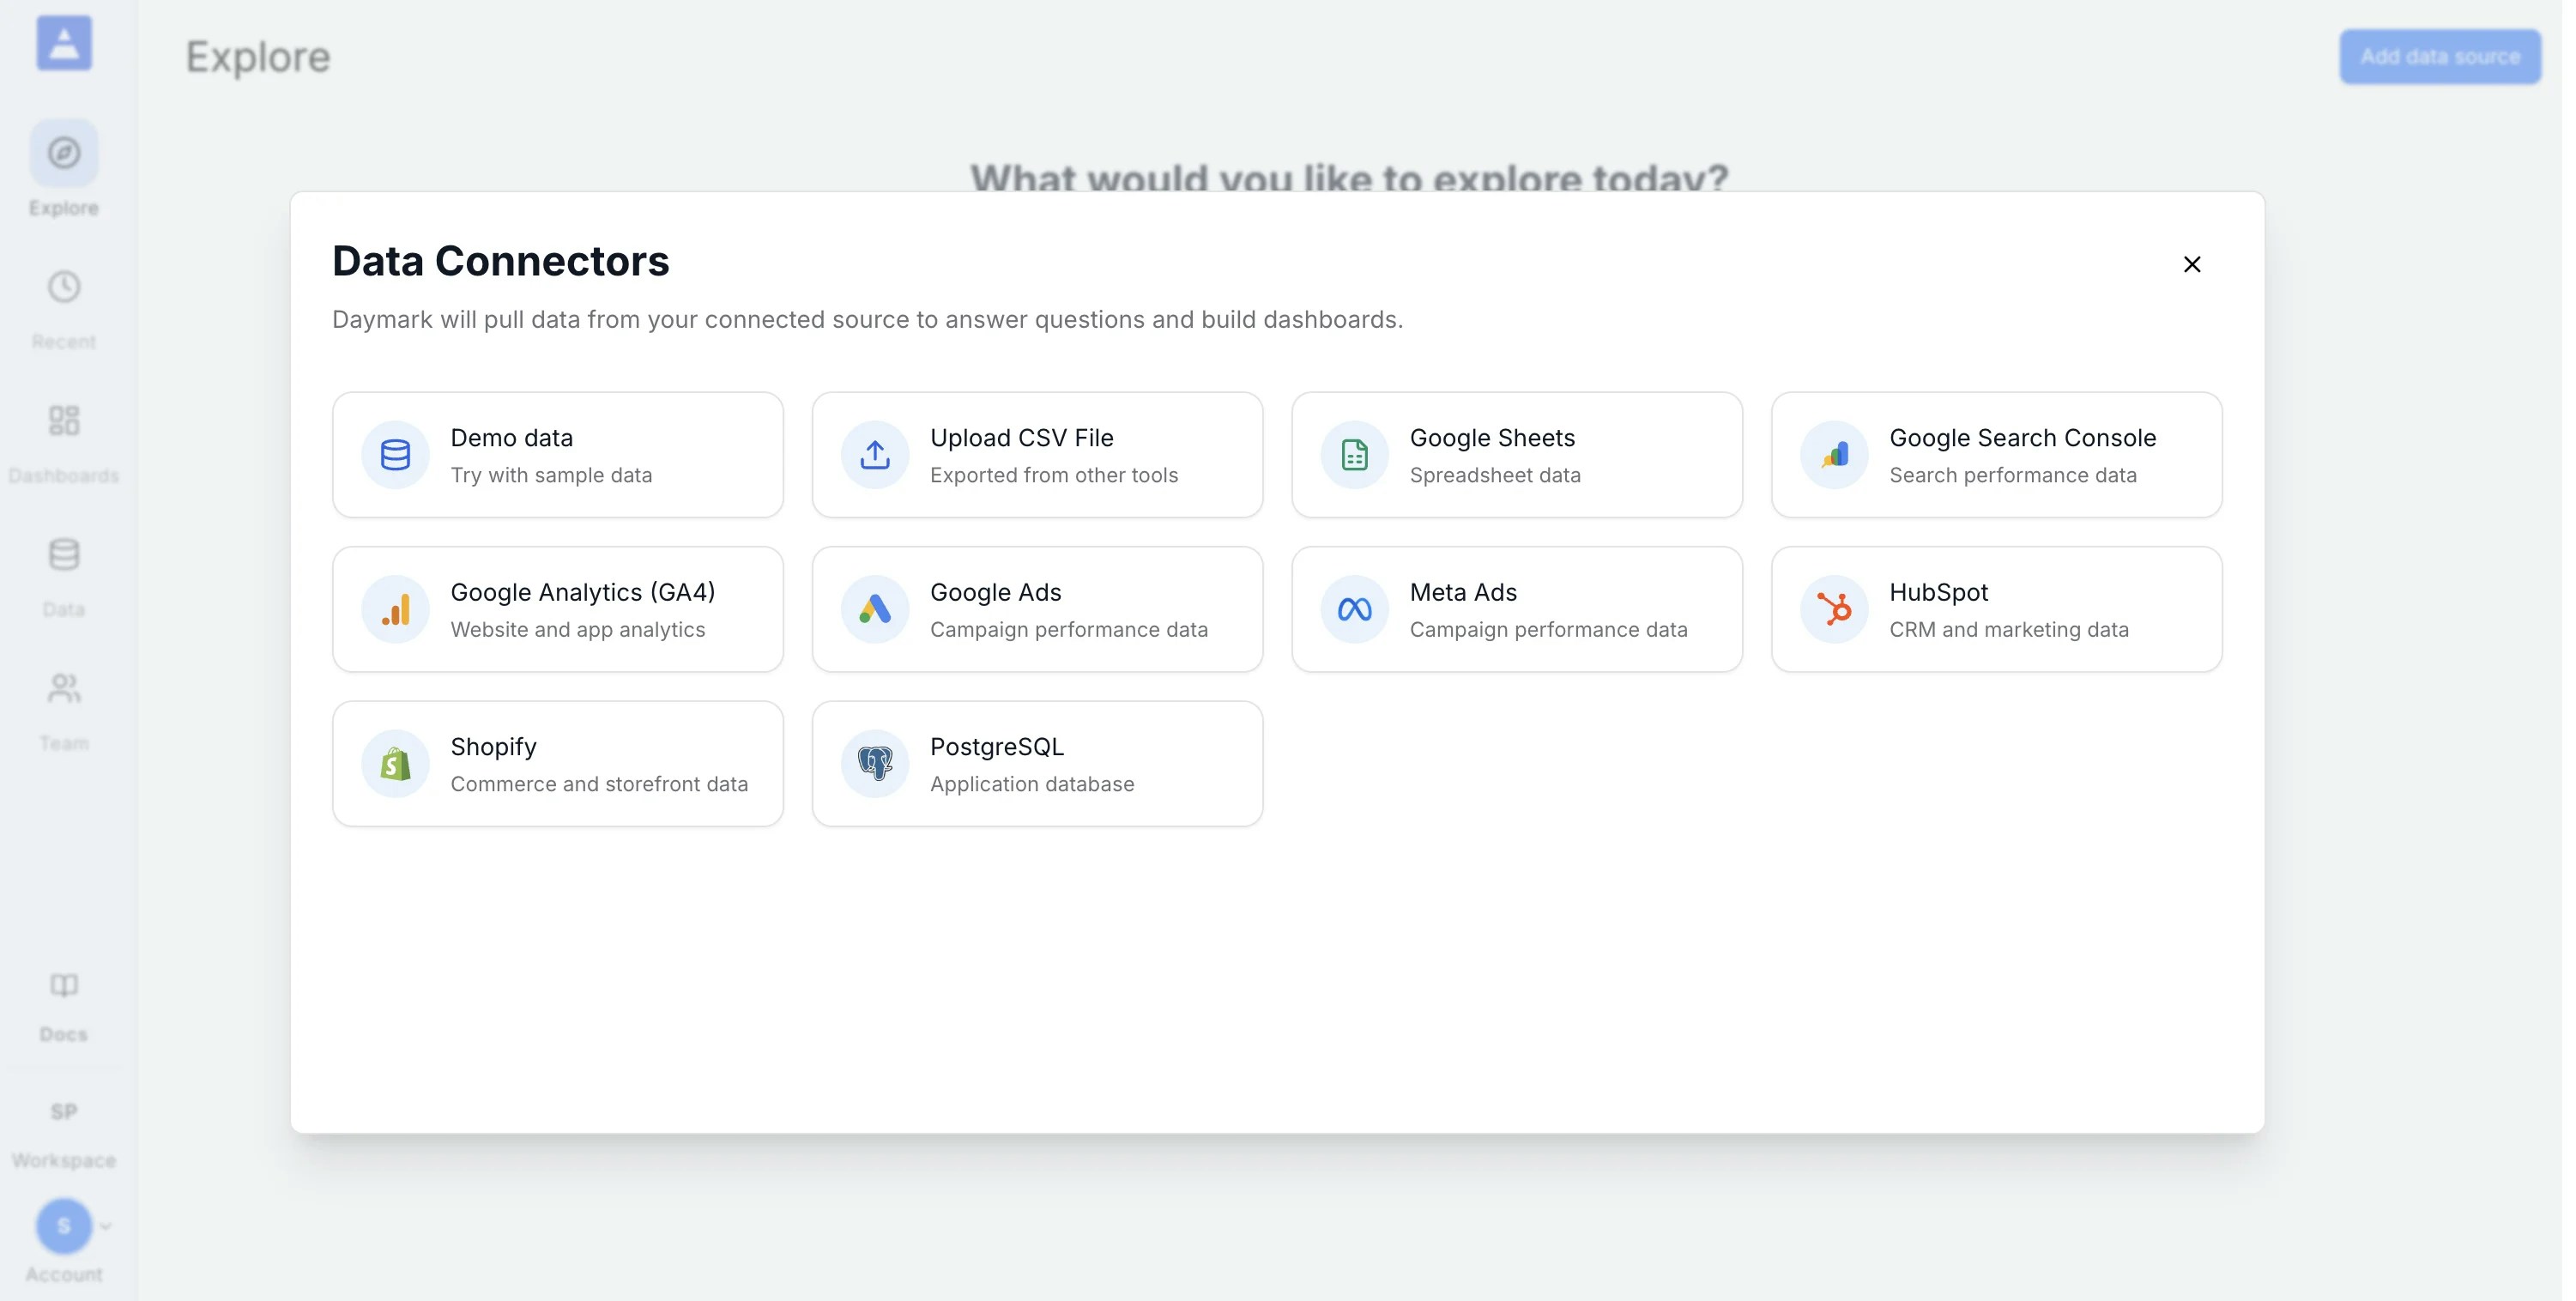
Click **Add data source** and select **Shopify** from the connector list.
### Choose Shopify
Click **Add data source** and select **Shopify** from the connector list.
 ## Setup
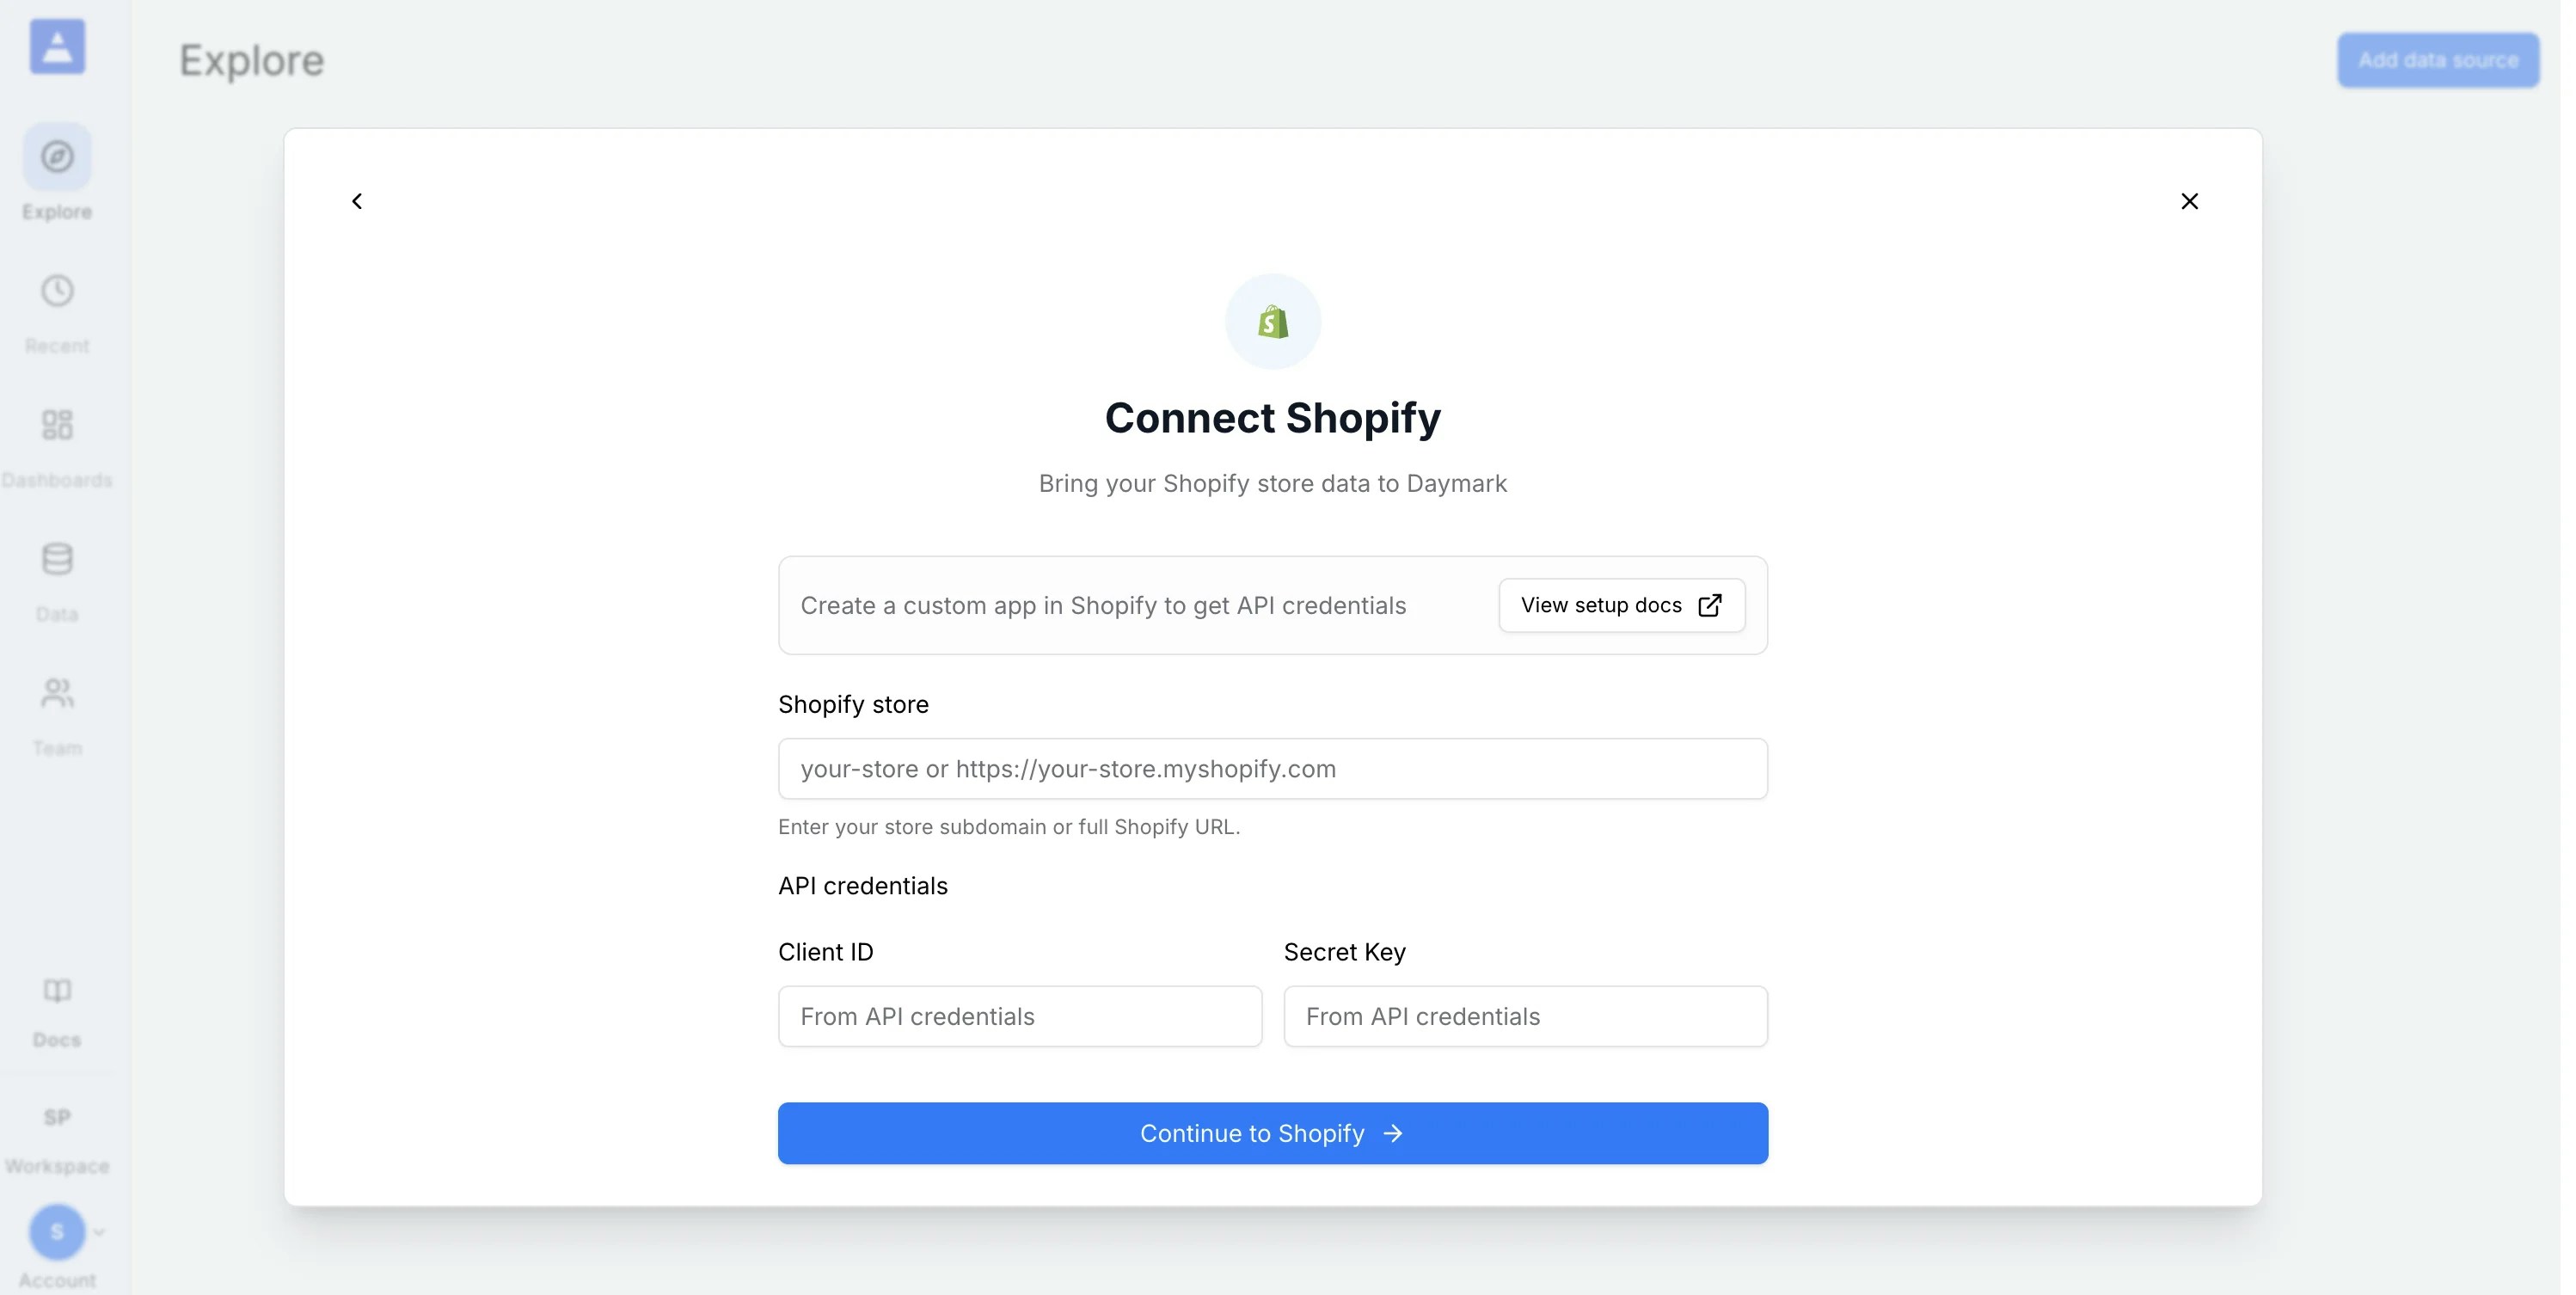
In the Shopify connector screen in Daymark, you will provide:
* **Shopify store**: your store subdomain (for example, `your-store`) or full URL (for example, `https://your-store.myshopify.com`)
* **Client ID**: from your Shopify custom app API credentials
* **Secret Key**: from the same Shopify custom app API credentials page
## Setup
In the Shopify connector screen in Daymark, you will provide:
* **Shopify store**: your store subdomain (for example, `your-store`) or full URL (for example, `https://your-store.myshopify.com`)
* **Client ID**: from your Shopify custom app API credentials
* **Secret Key**: from the same Shopify custom app API credentials page
 ### Connect and authorize in Daymark
1. Return to Daymark's Shopify connector form.
2. Enter **Shopify store**, **Client ID**, and **Secret Key**.
3. Click **Continue to Shopify**.
4. Complete Shopify authorization and return to Daymark.
### Import Data
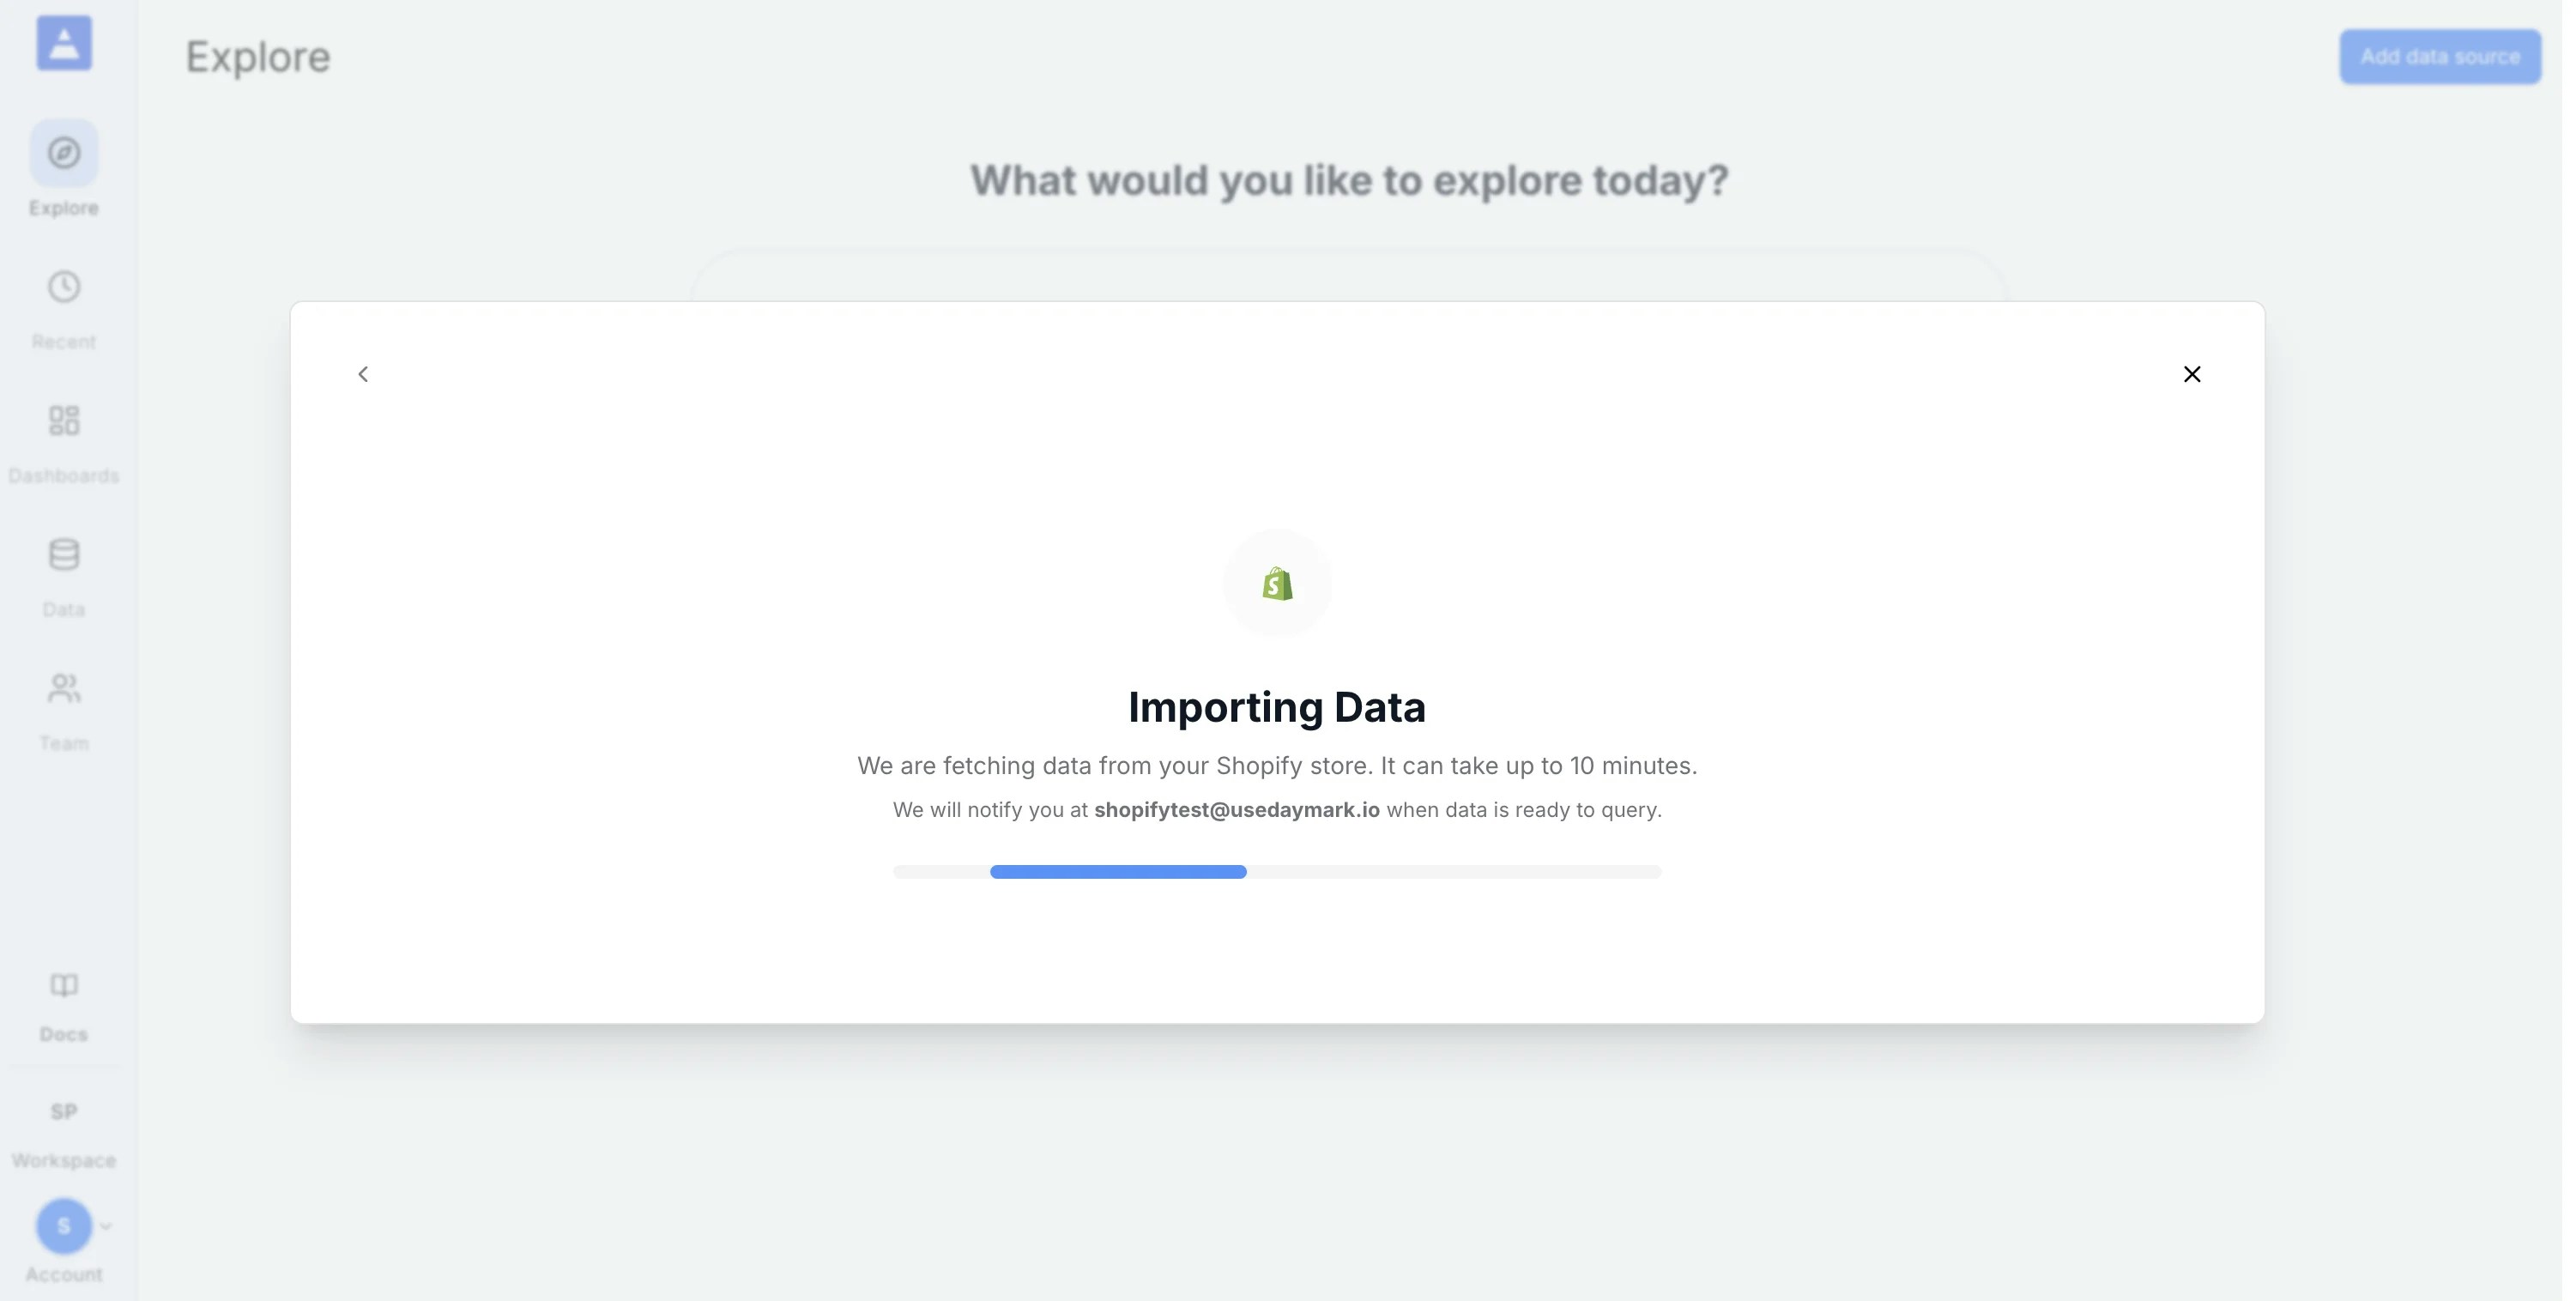
Daymark validates the connection and starts importing your Shopify data. Once the import is complete successfully, you can start analyzing the data in Daymark.
### Connect and authorize in Daymark
1. Return to Daymark's Shopify connector form.
2. Enter **Shopify store**, **Client ID**, and **Secret Key**.
3. Click **Continue to Shopify**.
4. Complete Shopify authorization and return to Daymark.
### Import Data
Daymark validates the connection and starts importing your Shopify data. Once the import is complete successfully, you can start analyzing the data in Daymark.
 ***
## Connection Complete
Once the import completes successfully, ask your questions on the Explore page to see trends, patterns, and insights from your Shopify data in Daymark.
***
## Use the app
After connecting Shopify, you can ask questions such as:
* "What are my top products by revenue this quarter?"
* "Show daily orders and average order value for the last 90 days"
* "Which customers placed repeat orders this month?"
You can also combine Shopify data with other connected sources for cross-source analysis in Daymark.
***
## Connection Complete
Once the import completes successfully, ask your questions on the Explore page to see trends, patterns, and insights from your Shopify data in Daymark.
***
## Use the app
After connecting Shopify, you can ask questions such as:
* "What are my top products by revenue this quarter?"
* "Show daily orders and average order value for the last 90 days"
* "Which customers placed repeat orders this month?"
You can also combine Shopify data with other connected sources for cross-source analysis in Daymark.